Interactive Process journal · Oldies Gospel Art Series

Luke 1:37 InspiredFaithful Worship - 2 Styles

Inspired by a museum visit. Reimagined for a gallery. Here is my creation process.

  • The museumA trip to the CAAM museum with family and the Willie Birch and Langston Hughes exhibits inspired the original art piece.
  • The galleryAbout three weeks ago, a gallery owner inspired me to turn the original 3D art piece into a physical art piece.
  • The processResearch, sketches, 3D redesigns, paintings, prototypes, testing, rendering and prototype printing.

Read the Substack articleSee the Instagram post

Read the full story here, or find it at the bottom

I was inspired to create the original version of this piece by a trip to the CAAM museum with my mom Angela, stepmom Sherri, and two children. Seeing work by Willie Birch and Langston Hughes inspired my Oldies Gospel Art Series, a series of 3D art inspired by scripture and oldies gospel music. Every piece has a scripture that inspired me throughout, and this one was Luke 1:37: “For no word from God will ever fail.” (BSB)

Read the Substack articleSee the Instagram post

Rewind to about three weeks ago, when a lovely dinner with my children and their Amma led us to an art gallery. Their Amma gracefully shared my art background with the gallery owner. I showed him some of my work and told him I had been working on ways to turn my 3D art into painted prints. He pointed out the original version, and we talked about me recreating it for his gallery. It was that moment that inspired this learning journey.

It has been a carefully thought-out process, full of research, sketches, 3D model redesigns, 3D paintings, prototypes, testing, rendering, and 3D prototype printing. I also appreciate my older brother Jonathan for helping me with my 3D printing questions (His 3D work is amazing! See Slide 2!), and my twin sister Jessica for giving feedback on some of the original redesign models, which led me to my final figure.

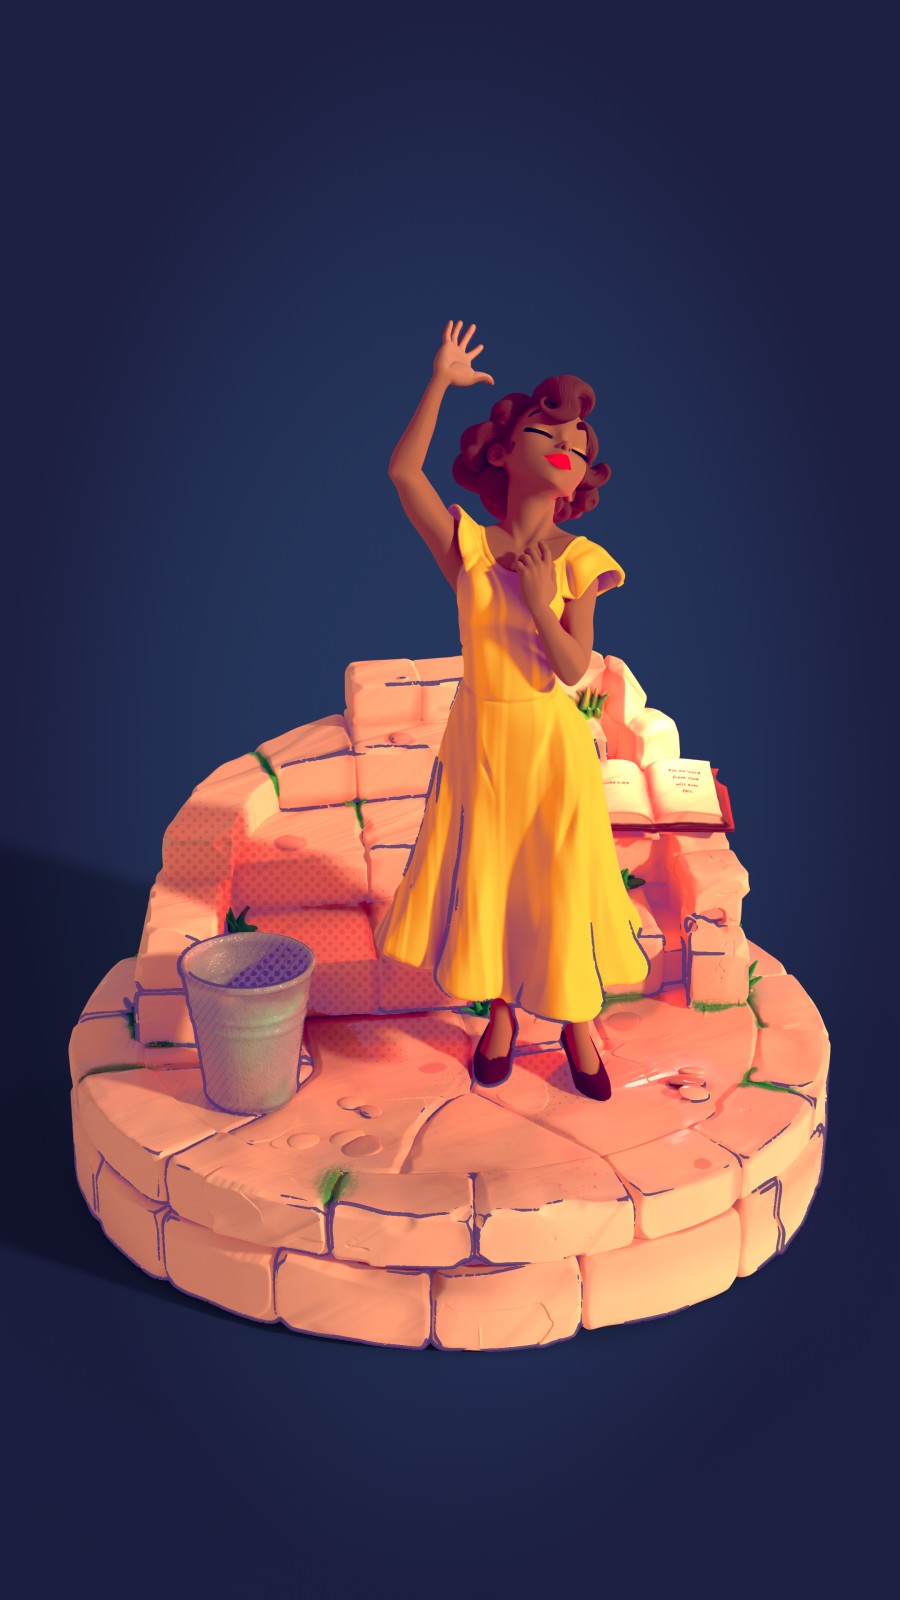
The Sculpted Edition was made in Nomad Sculpt for the 3D model, 3D painting and material baking, and in Blender for additional texture mapping, outline effects, the camera system and updated scene lights.

The 3D Drawn Original was made in Nomad Sculpt for the 3D model and in Feather 3D for 3D coloring and illustration.

The pages below show how the digital version took shape: the tests, the choices behind it, and what each one taught.
Jump to the full story at the bottom

The painted colors on these pages are my reference for how I will paint the final art piece. I will airbrush and hand-paint the printed pieces.

  • 43painterly tests
  • 7final views
  • 20sturntable move
  • 2looks per view
  1. Sculpt
  2. Bake
  3. Light
  4. Paint
  5. Turn
  6. Print

Digital renders for display. Each printed figurine is painted by hand, so no two are alike.

Feel free to interact and see some of the comparisons that have led me to the art piece so far.

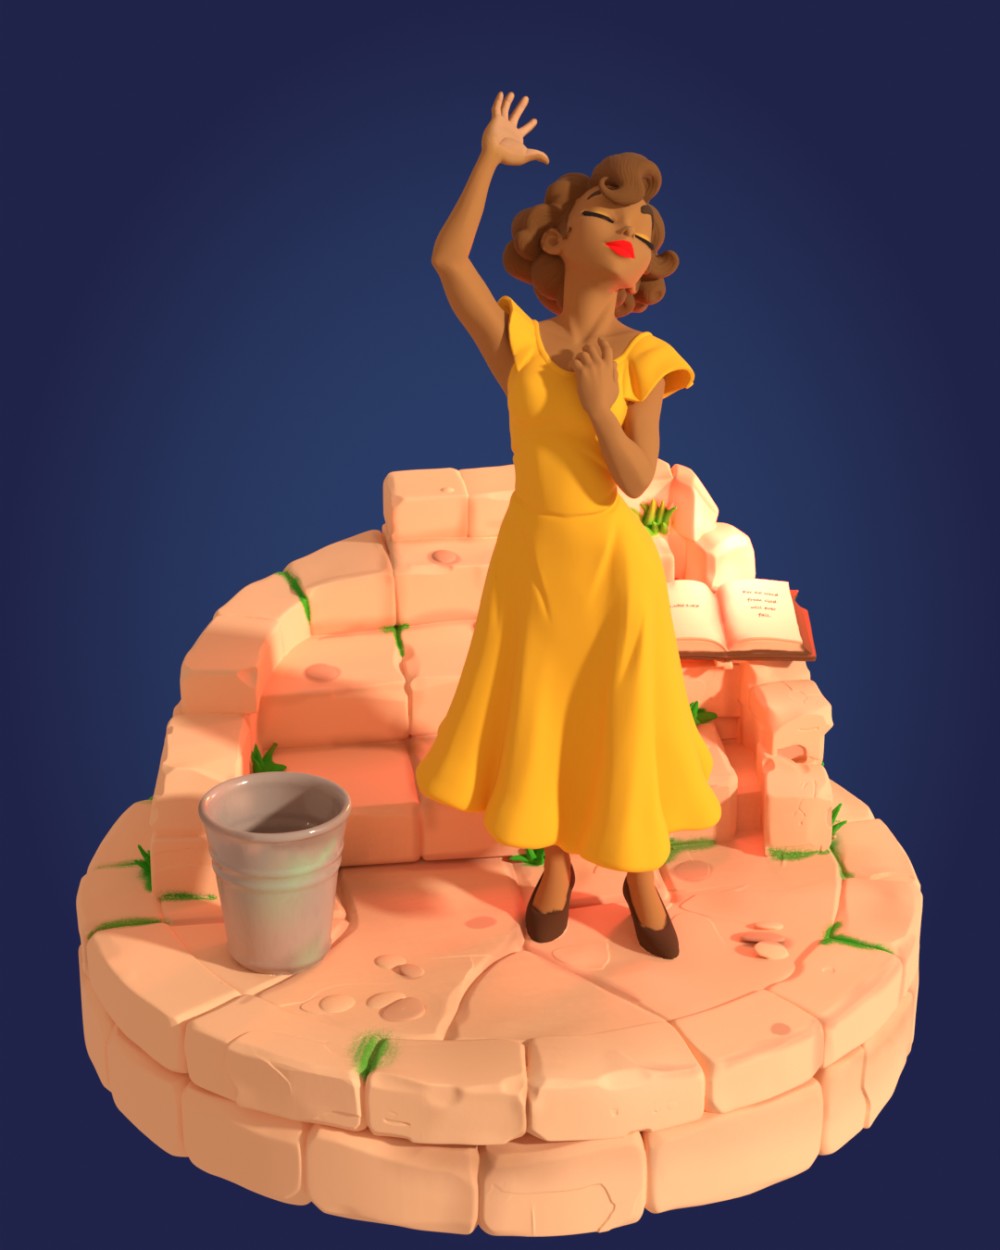
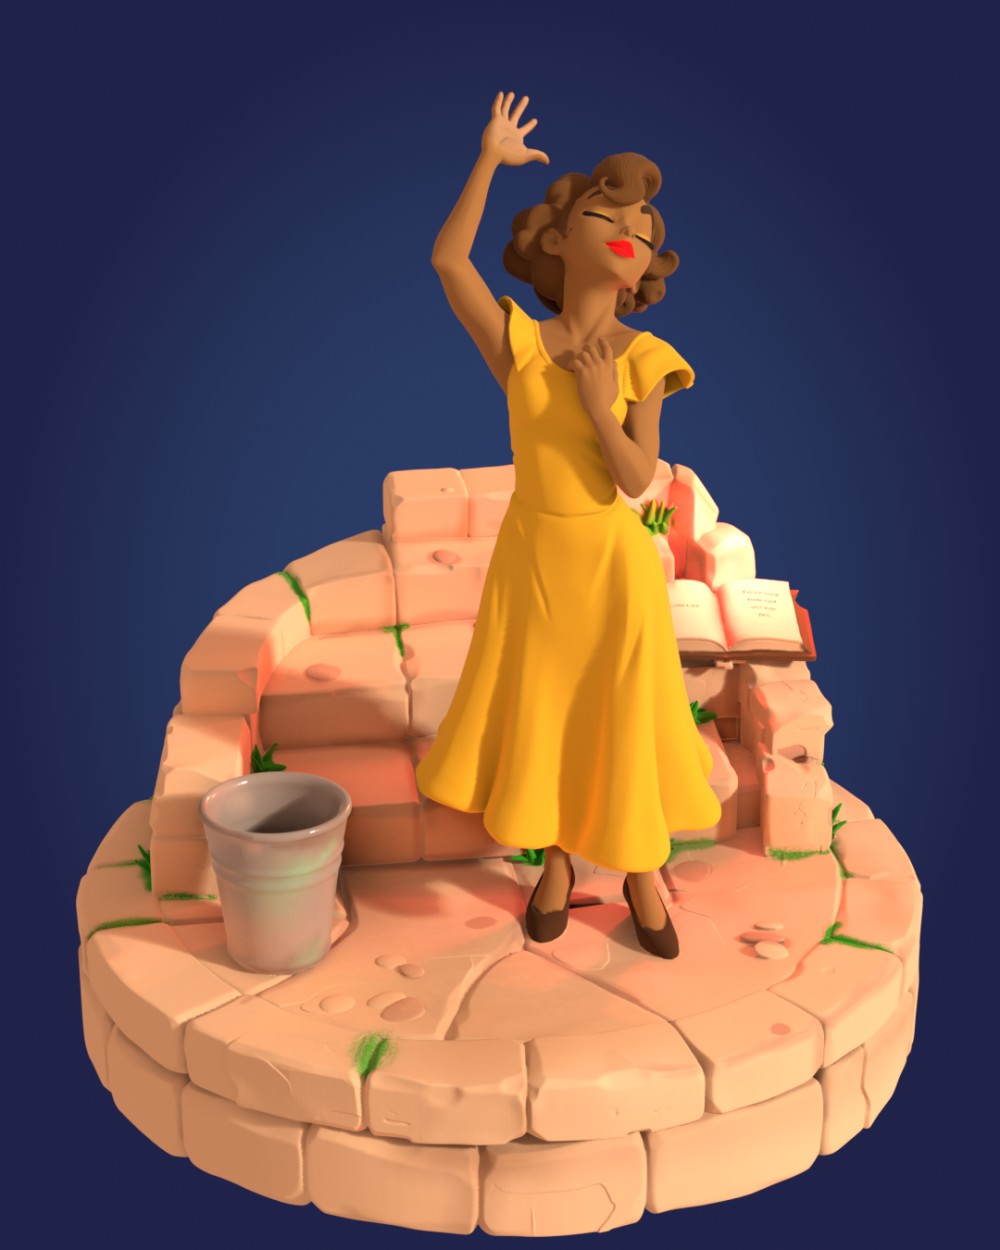
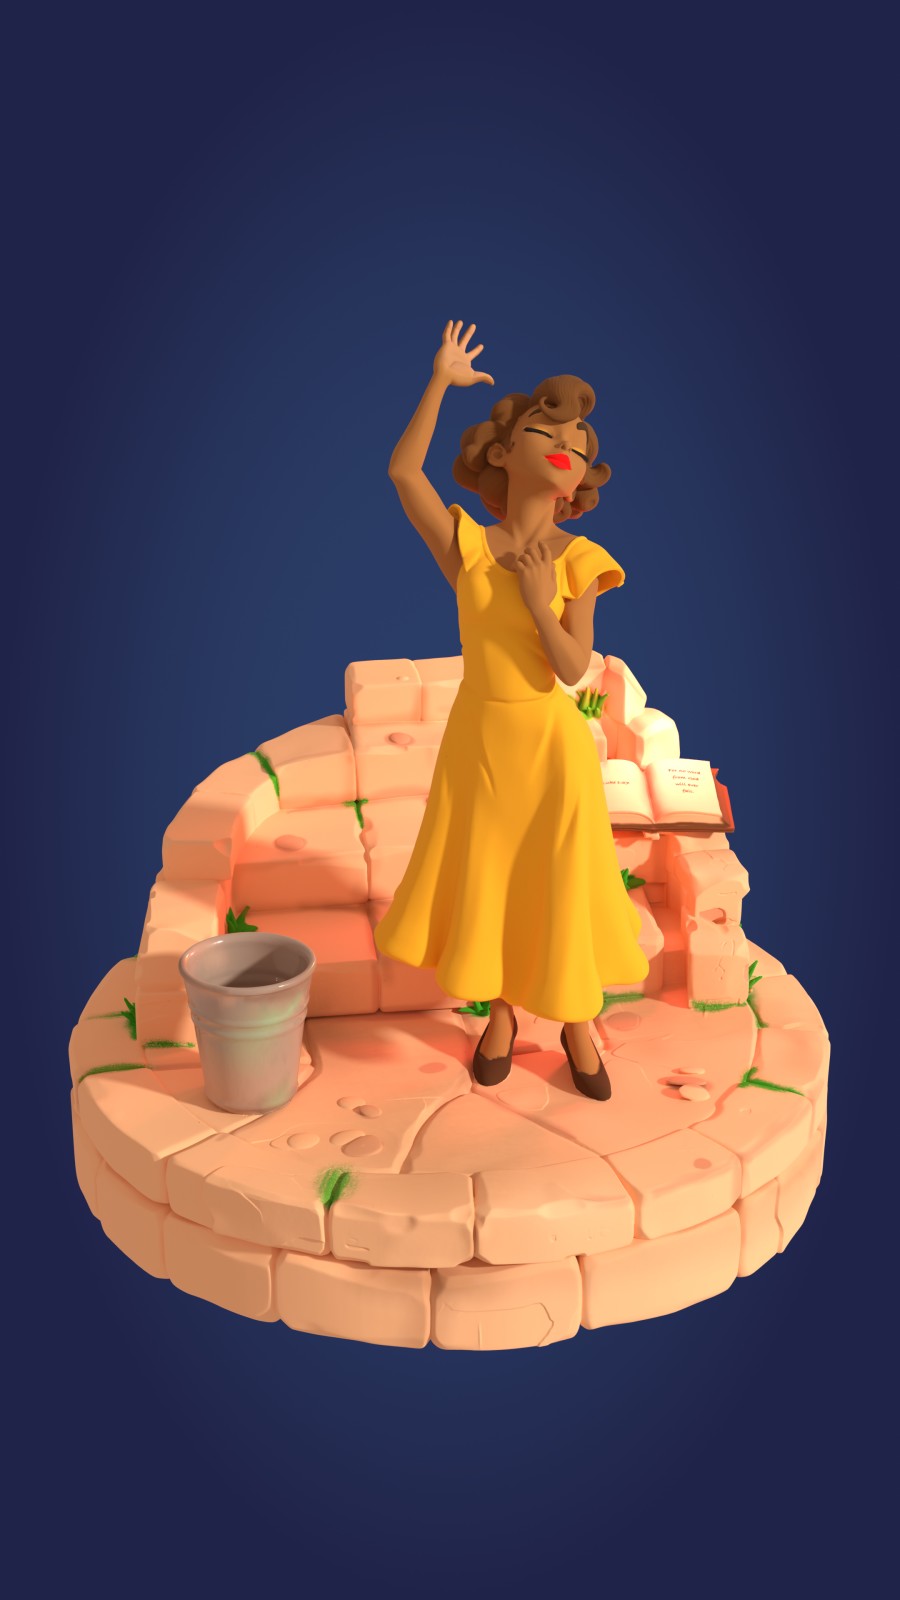
The Sculpted Edition: final painterly render of the figurine, front view, on a night-blue ground
The Sculpted Edition. Sculpted in Nomad, painted and lit in Blender.
1
The 3D Drawn Original

Drawn in Feather 3D

The first style came first. I modeled the figure in Nomad Sculpt, then colored and illustrated it in Feather 3D. Everything after this chapter is The Sculpted Edition, built to become a painted print.

Finished piece. The finished piece.
Second character. The same scene with a second character.

Tests along the way

Halftone tests. Trying halftone dots on the character.
Effects tests. Trying Feather 3D effects on the character.
2
Foundation

Sculpt, paint, decimate, check

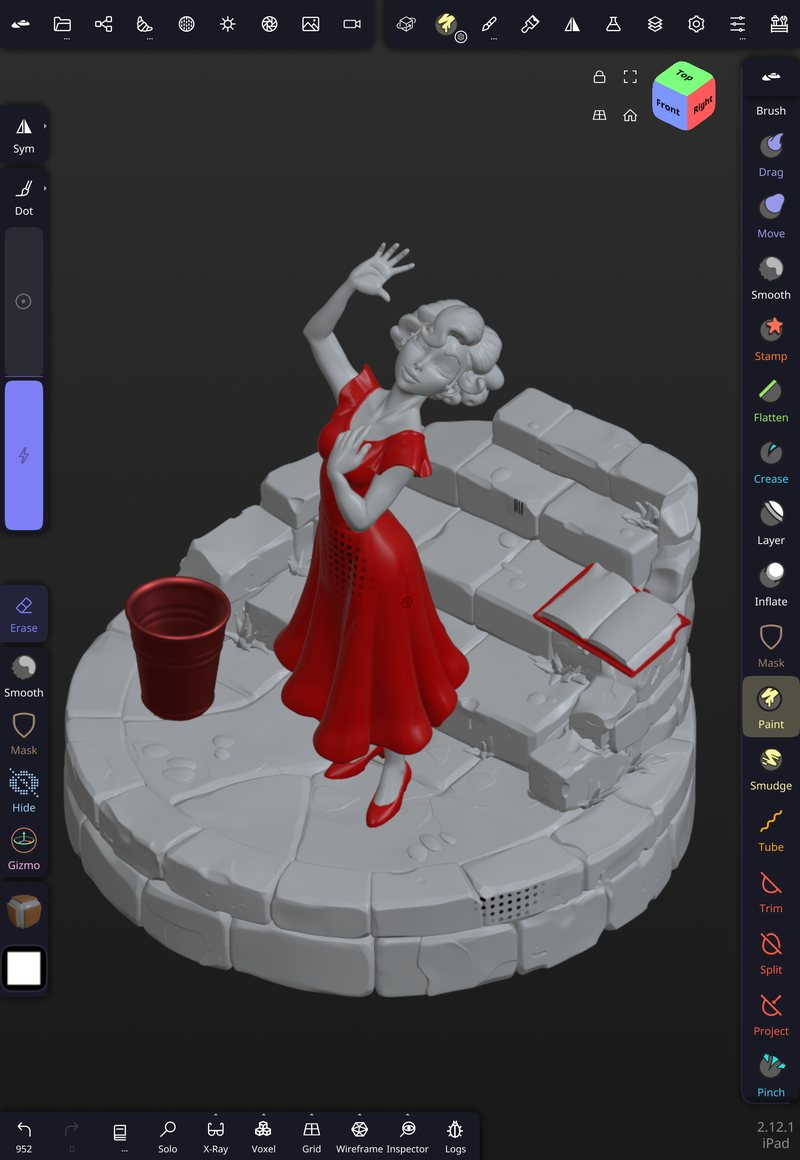
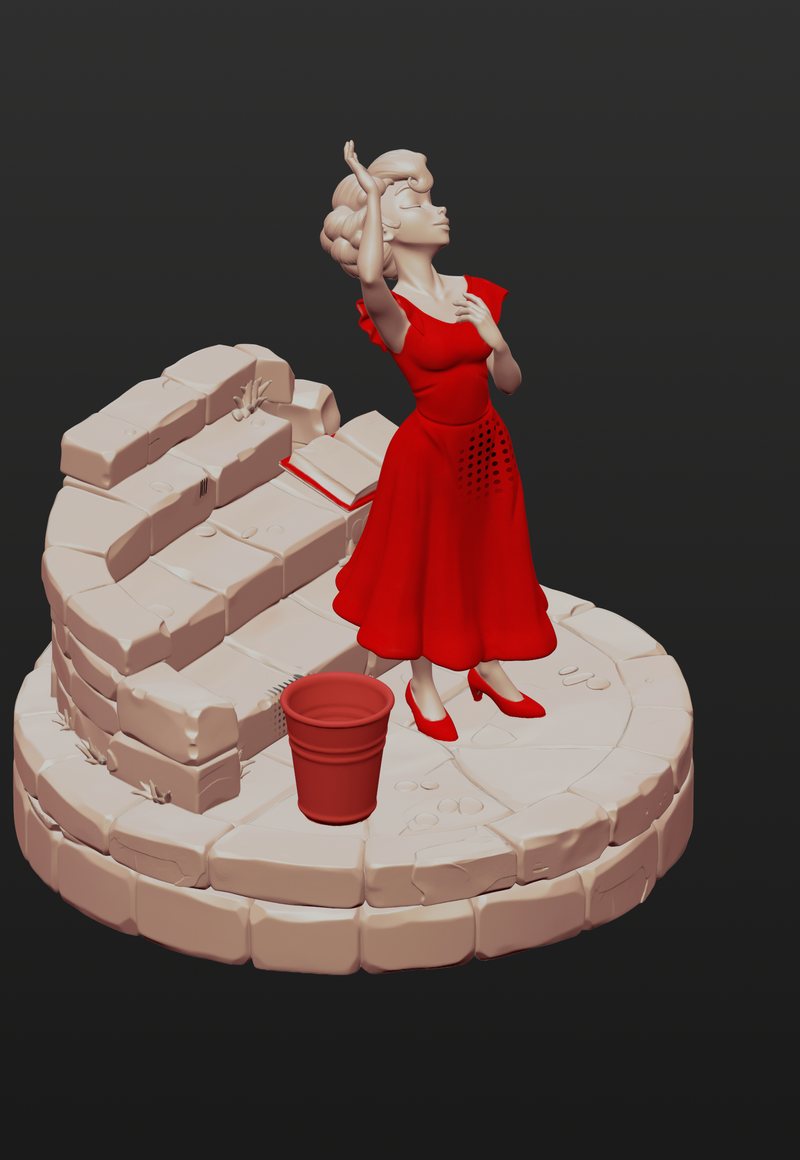
The Sculpted Edition starts here. The figure and the stone set were sculpted in Nomad on iPad. Color was blocked in right on the sculpt, then the model was reduced and baked so the colors and surface detail live in textures instead of millions of polygons. Swipe through the sculpt first, then the first checks in Blender, before any light or painting.

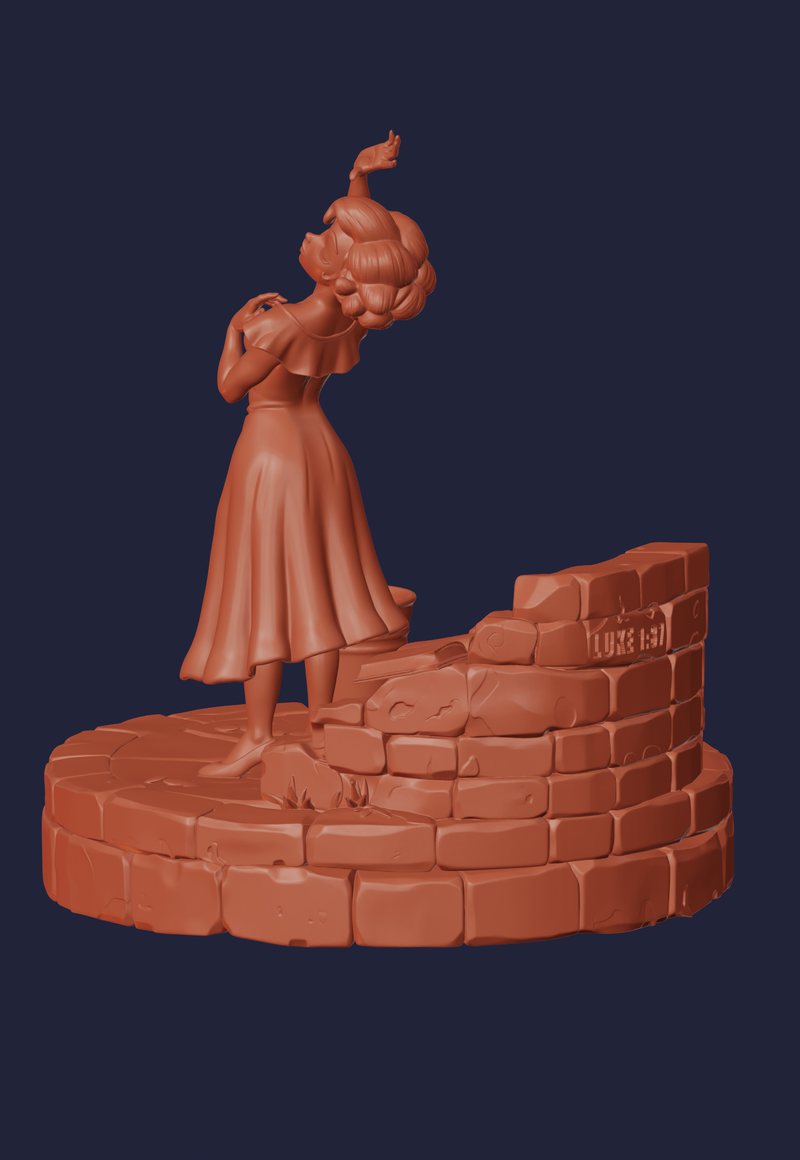
Clay render of the sculpt on a night-blue ground, with Luke 1:37 carved into the stone wall
The sculpt. A clay render, with the verse carved into the stone wall.
Gray sculpt in Nomad with the dress, shoes, bucket and Bible edge painted red
Blocking color. Dress, shoes, bucket and the Bible's edge go red first.
Sculpt with warm skin and stone tones and a red dress
Skin and stone. Warm tones go in while the dress stays red.
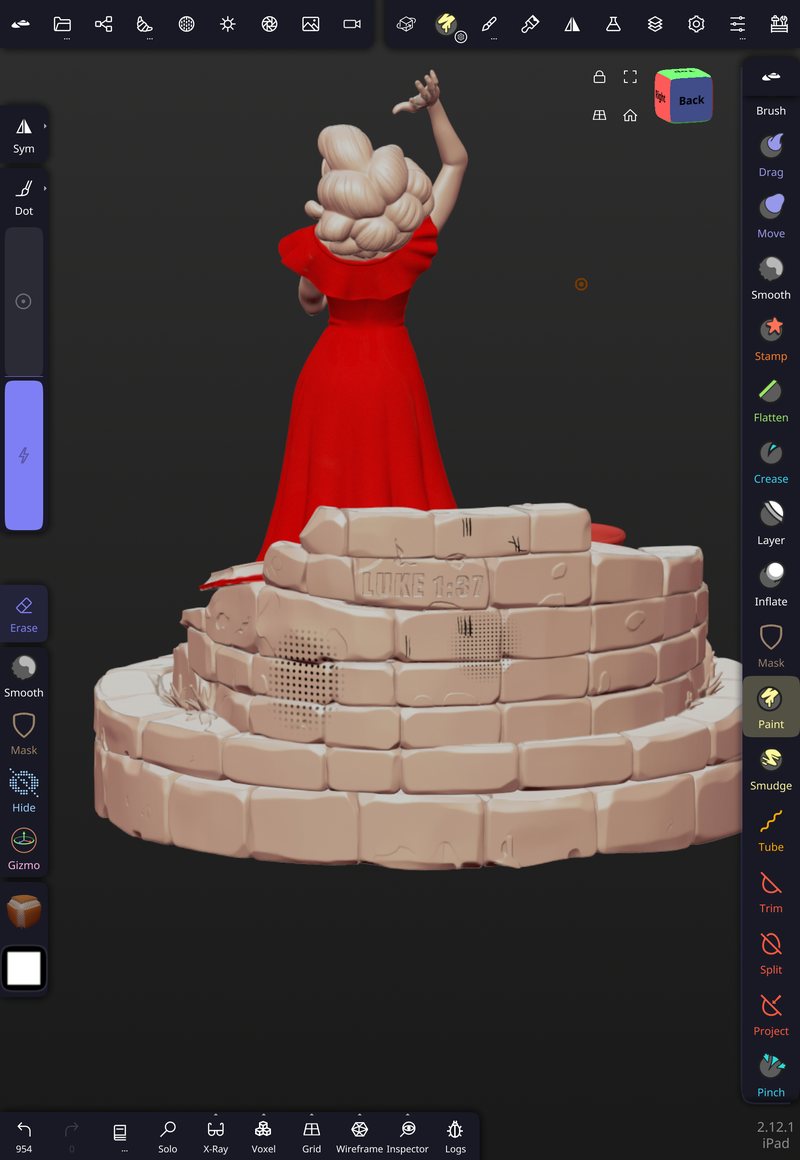
Back view in Nomad showing the carved verse and halftone dots on the stones
Back view. The carved Luke 1:37, tally marks and halftone dots on the stones.
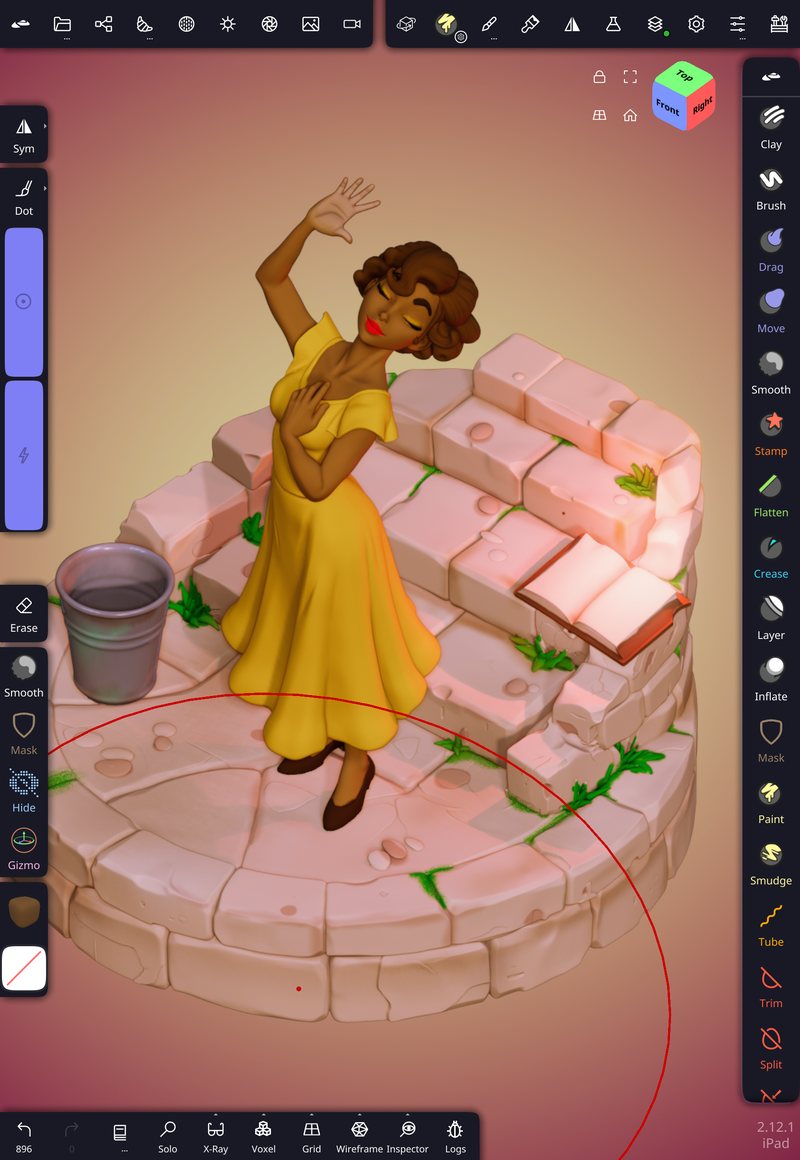
Fully painted sculpt in Nomad with a yellow dress, skin, hair and green moss
Full color. The yellow dress, skin, hair and moss on the stones.
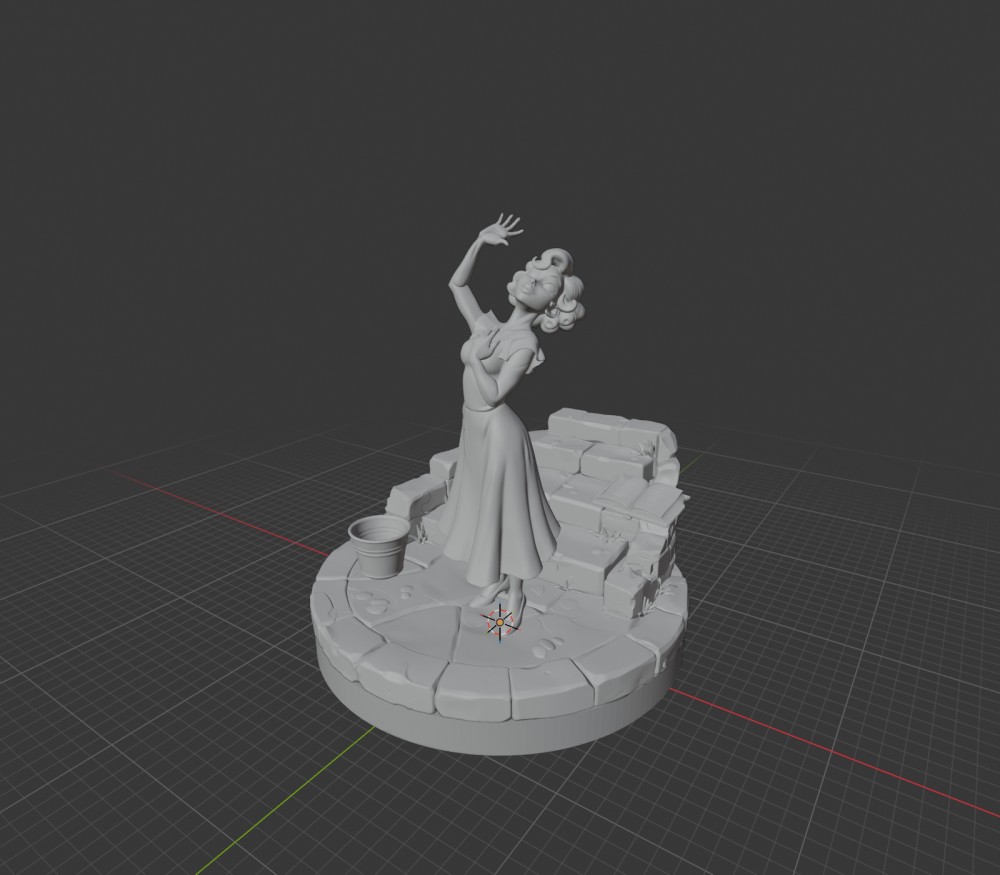
Gray model on a Blender grid
Into Blender. Figure, steps, bucket and plinth as plain gray geometry.
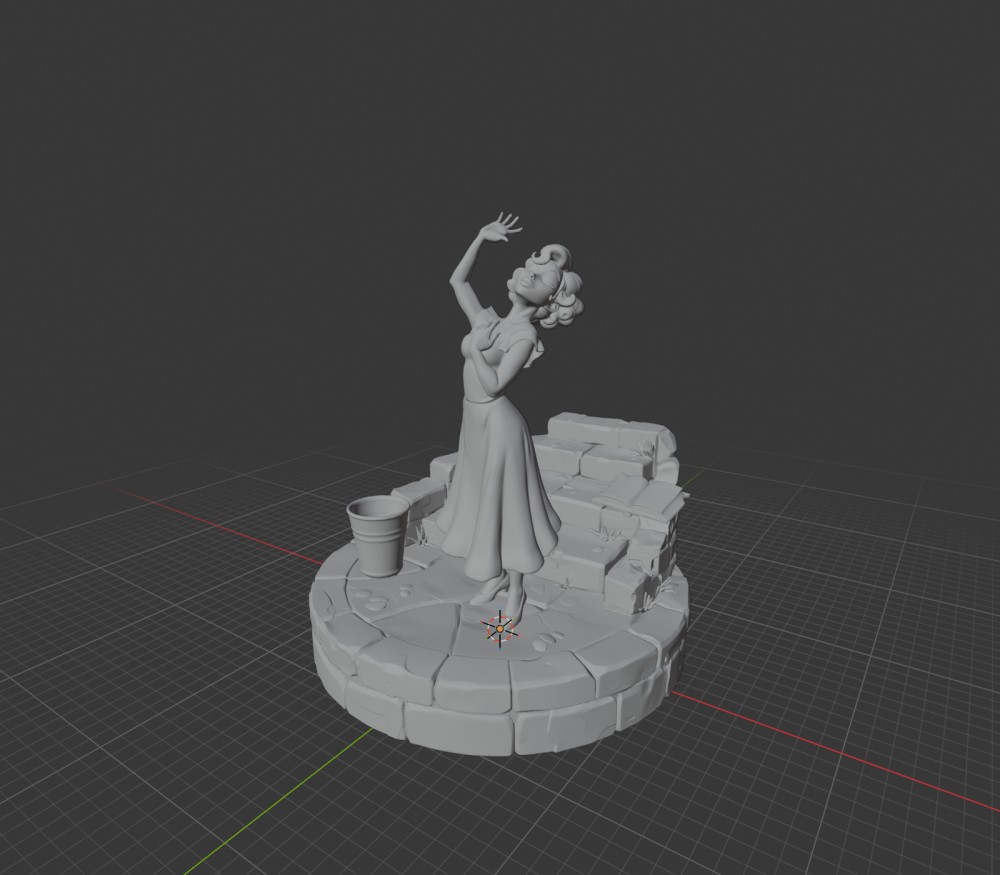
Second gray model on a Blender grid
Version 2. The same model, reworked for printing with a pocket in the plinth.
3
Light and camera

Finding the light

Before any painting, the clean render had to look good on its own. Three lighting passes, a look at the verse on the Bible, a view from above, then a head-to-head between two render engines.

Lighting test one
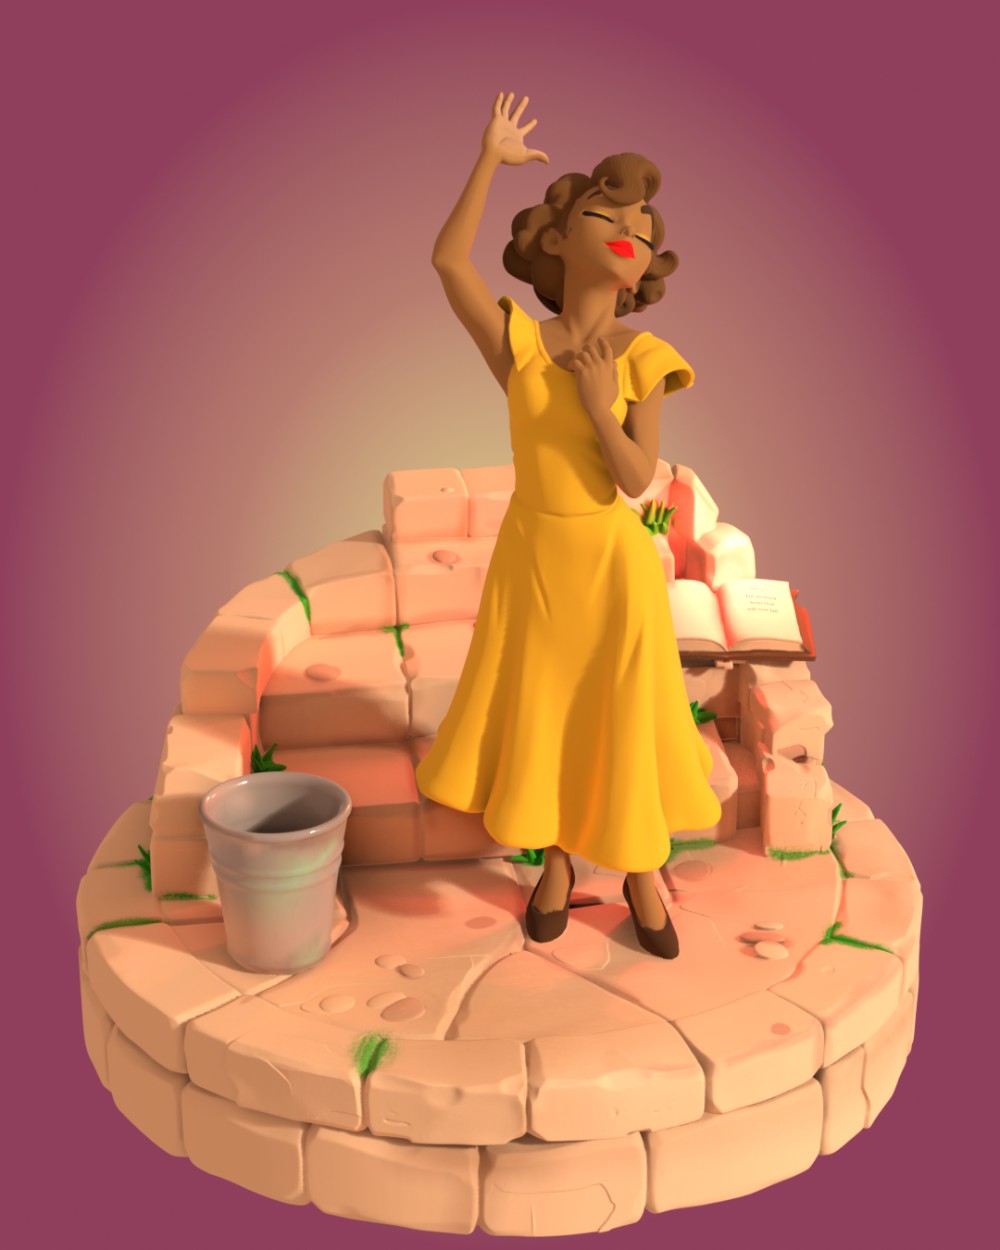
Light test 1. Warm key light, plum backdrop.
Lighting test two
Light test 2. Front-on, the bucket and steps read clearly.
Lighting test three with the verse
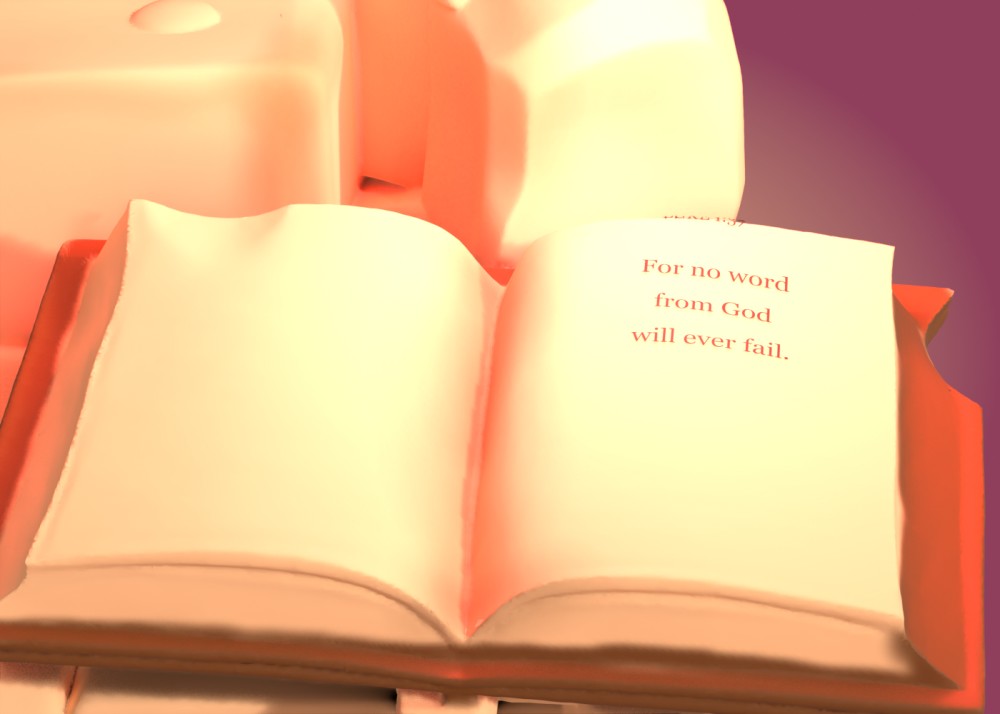
Light test 3. Checking the verse can be read.
Close-up of the open Bible
The verse. First, a close-up of the page text and a visual test of the scripture placement. I add the scripture in Blender so the text stays crisp and legible.
Top-down view of the plinth
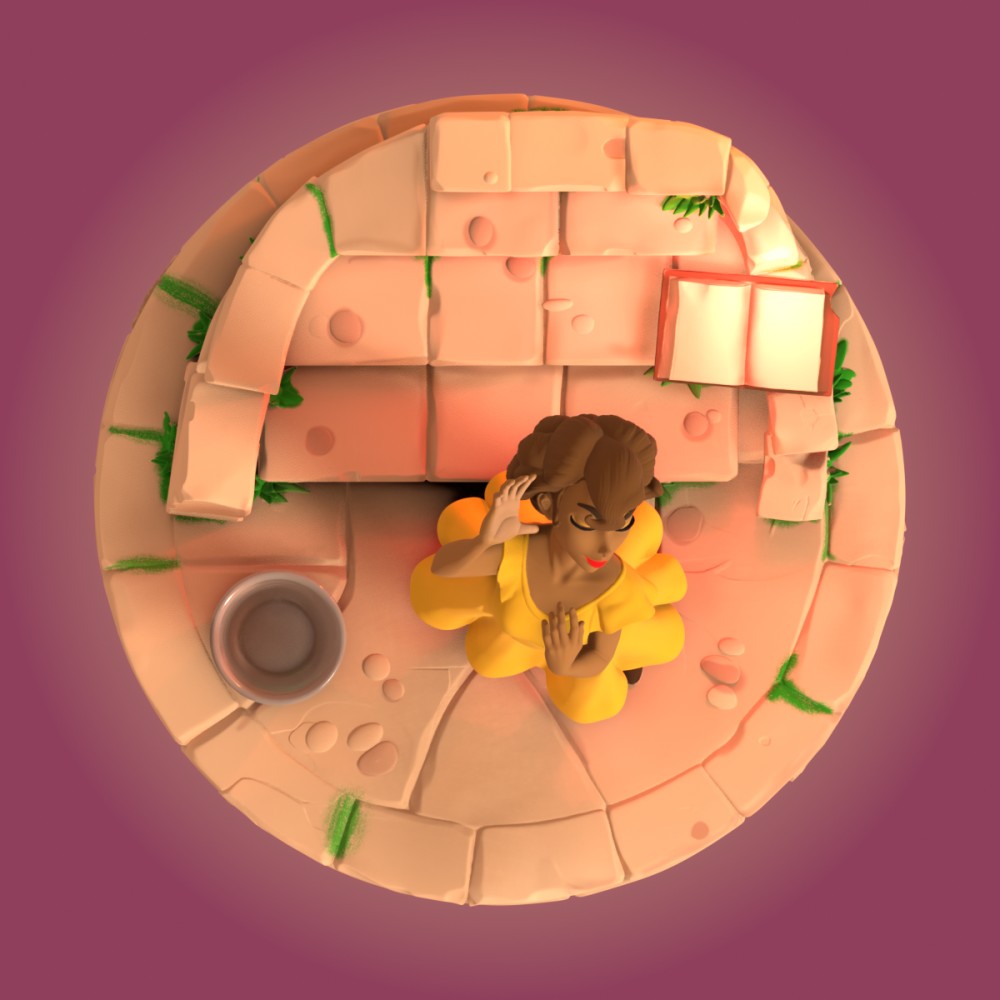
From above. Seeing how the whole plinth is laid out.

Cycles against EEVEE

Cycles render
EEVEE render
EEVEECycles

Decision: Cycles. EEVEE is quicker. Cycles bounces light the way real light behaves, so the shadows and the glow off the stone sit better. Every final render uses Cycles.

Drag the handle across the image.

4
The painterly search

Forty-three tries at a painted look

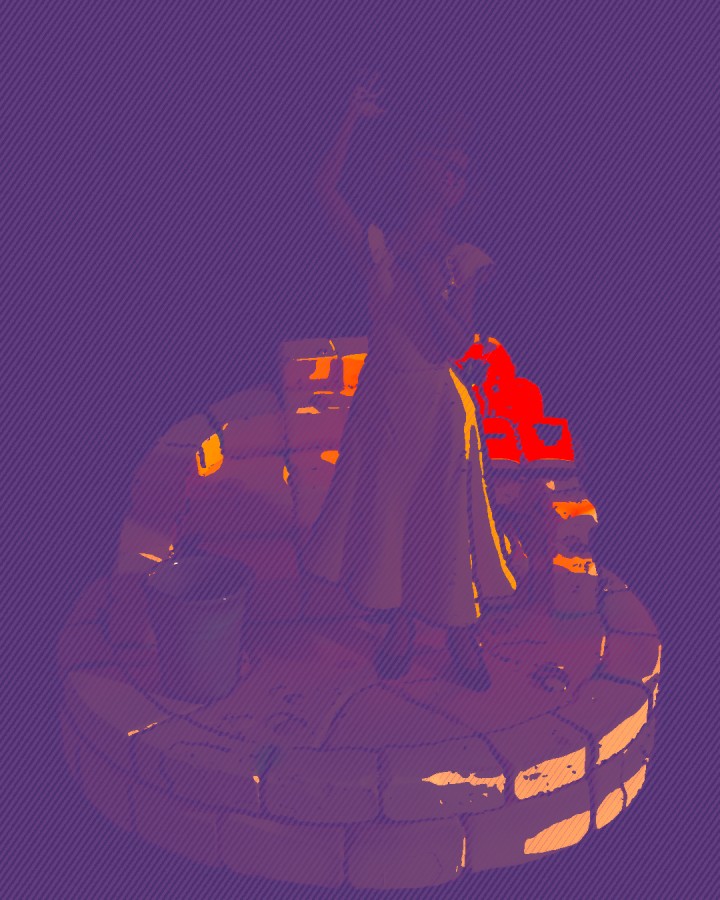
The goal was a hybrid of painting and 3D: halftone dots, soft outlines and visible brush strokes, in the spirit of recent animated films and comics. Each version changed one thing. Scrub through them. The pink dots on the bar mark the turning points.

Painterly test 1 Test 01 / 43
Test 01

Arrow keys also step through the tests.

5
Dress and shadow

Silk, shadows and a quiet purple

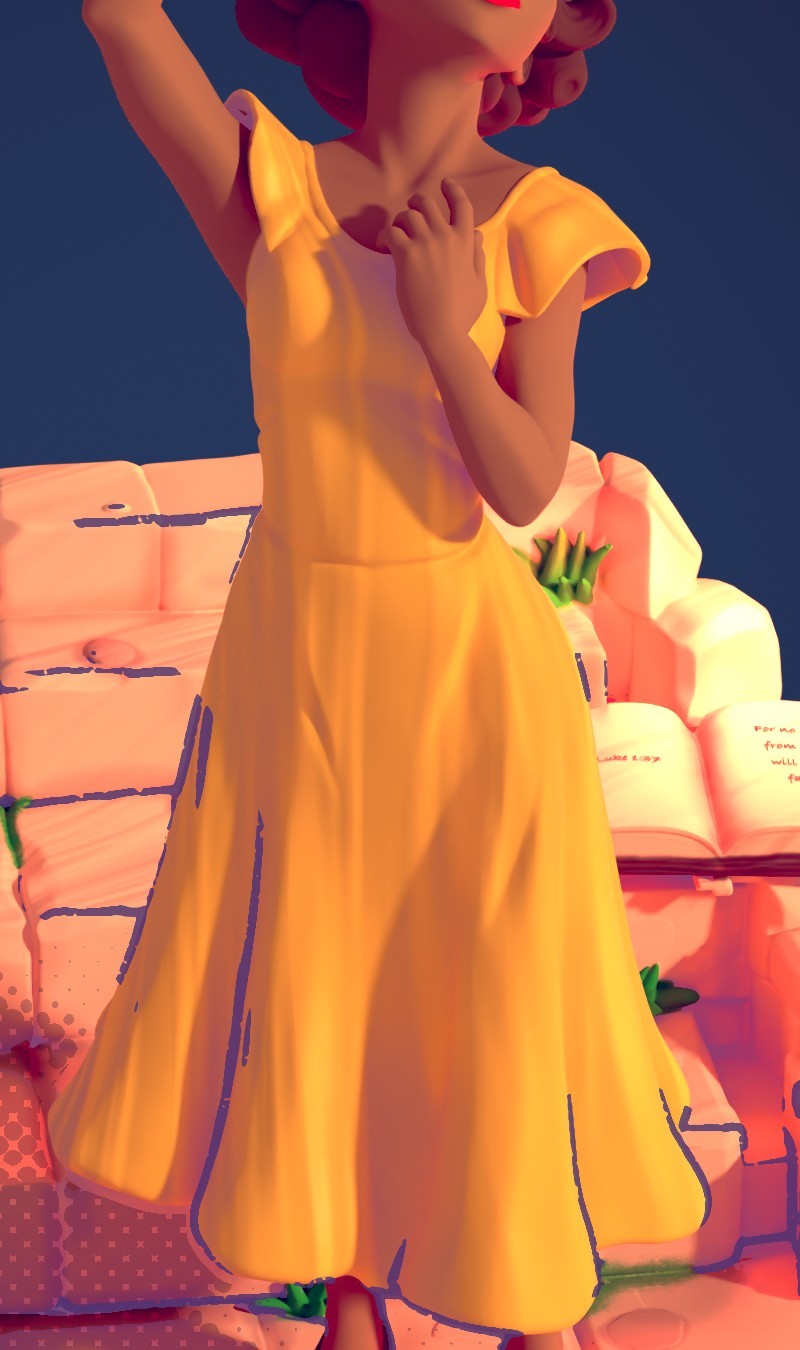
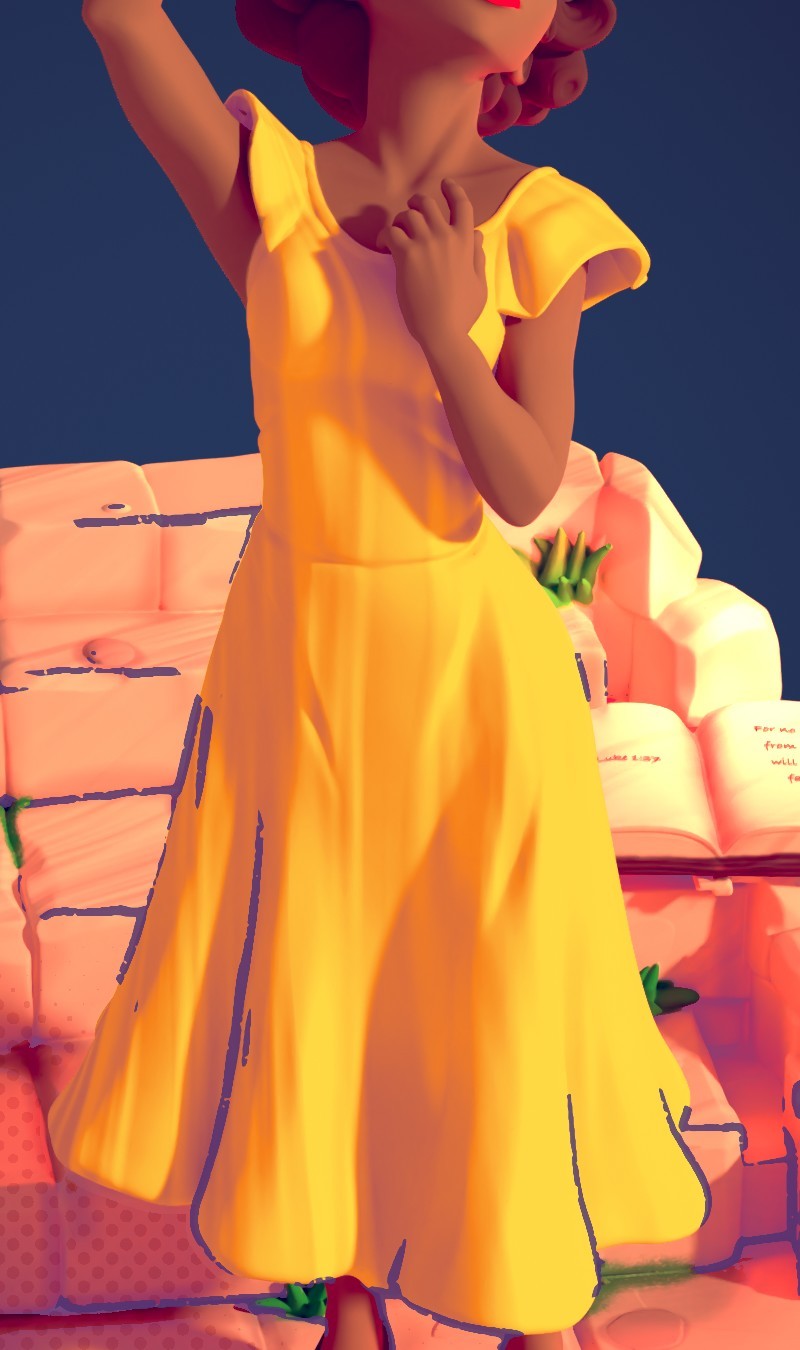
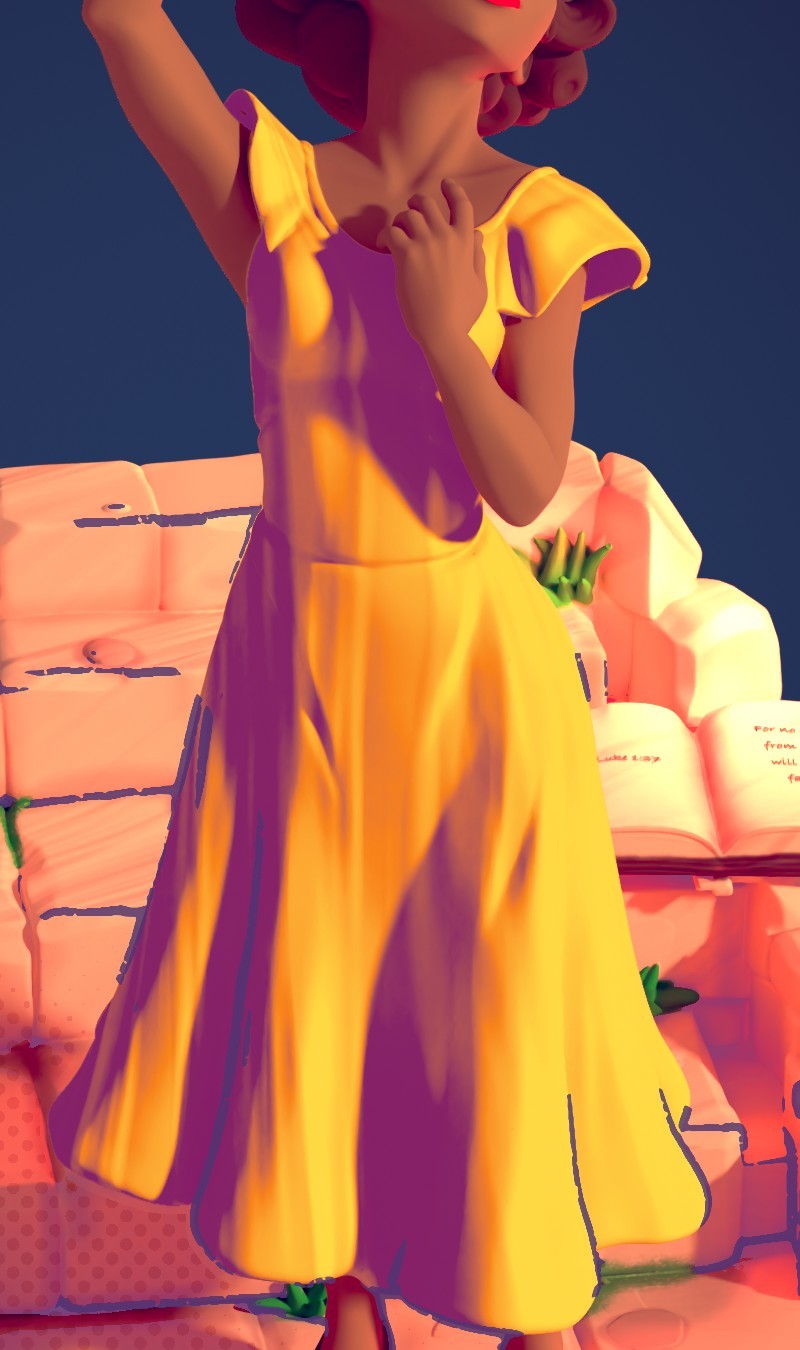
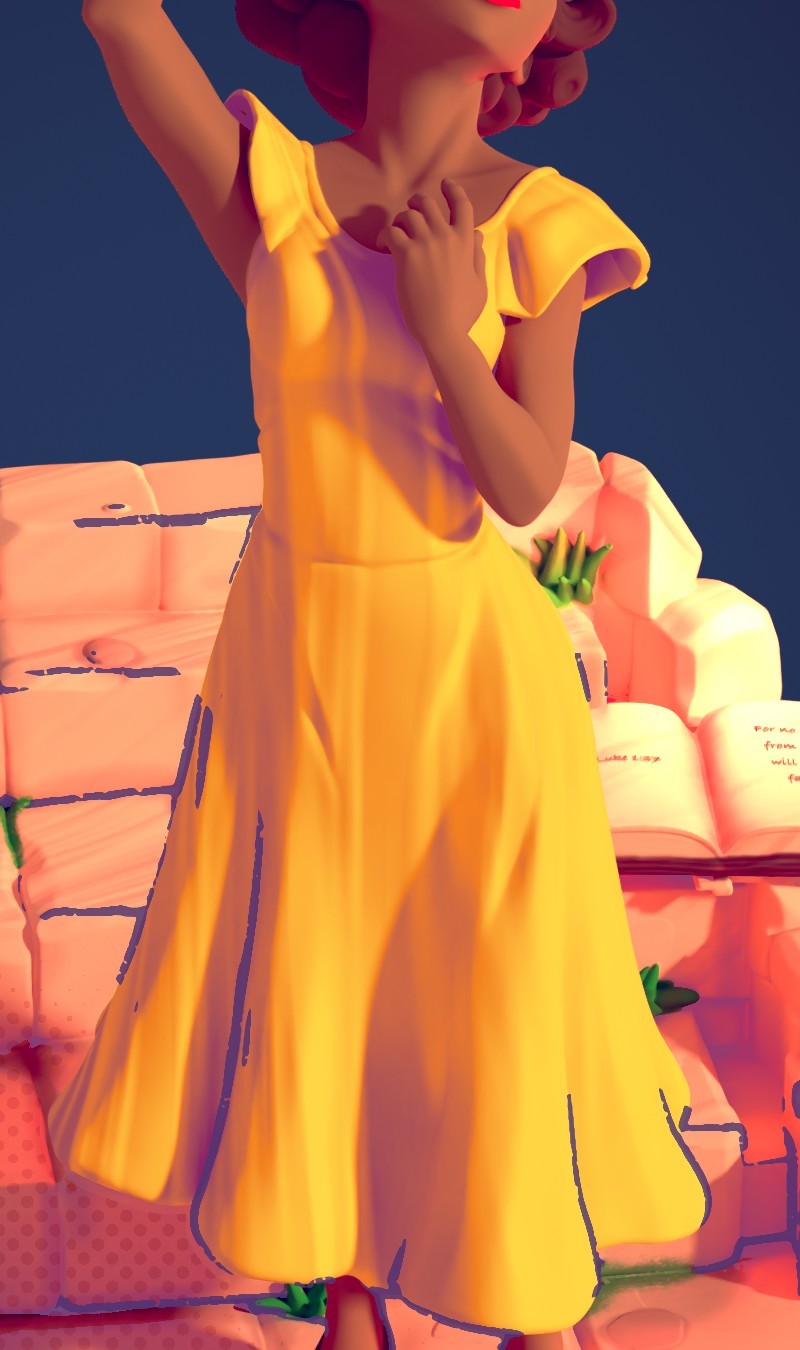
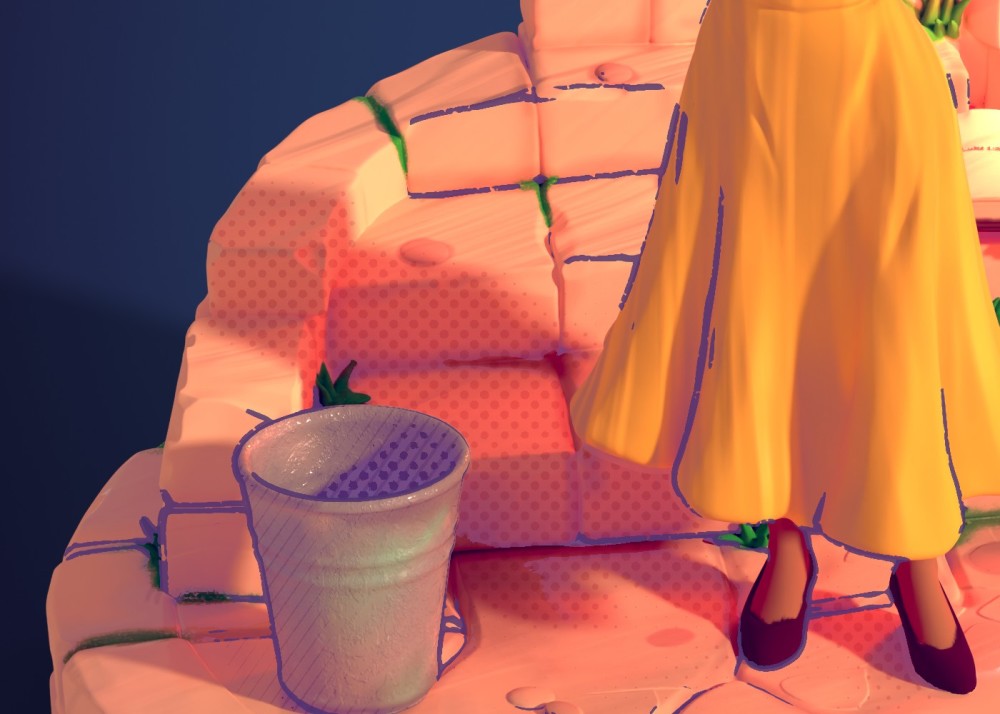
Two details carried the most work. The dress gets a silk texture that runs with the folds of the fabric, and the woman's shadow on the stones gets halftone dots you can see through.

Dress with soft silk texture
Test 39. Silk softened until it stops looking like wrinkles.
Dress, next version
Test 41. Fabric warms up, folds still read cleanly.
Dress with strong purple shadows
Test 42. Shifted shadows, pushed too far.
Dress with subtle purple shadows
Test 43. The keeper. Purple lives in the shadows only.
Halftone dots inside the cast shadow on the rocks

Shadow halftones. The dots follow the cast shadow and nothing else. They are spaced out and see-through, so the stone's own color shows underneath.

Test 40, cropped to the rocks and the bucket.

6
Final renders

Seven views, two looks

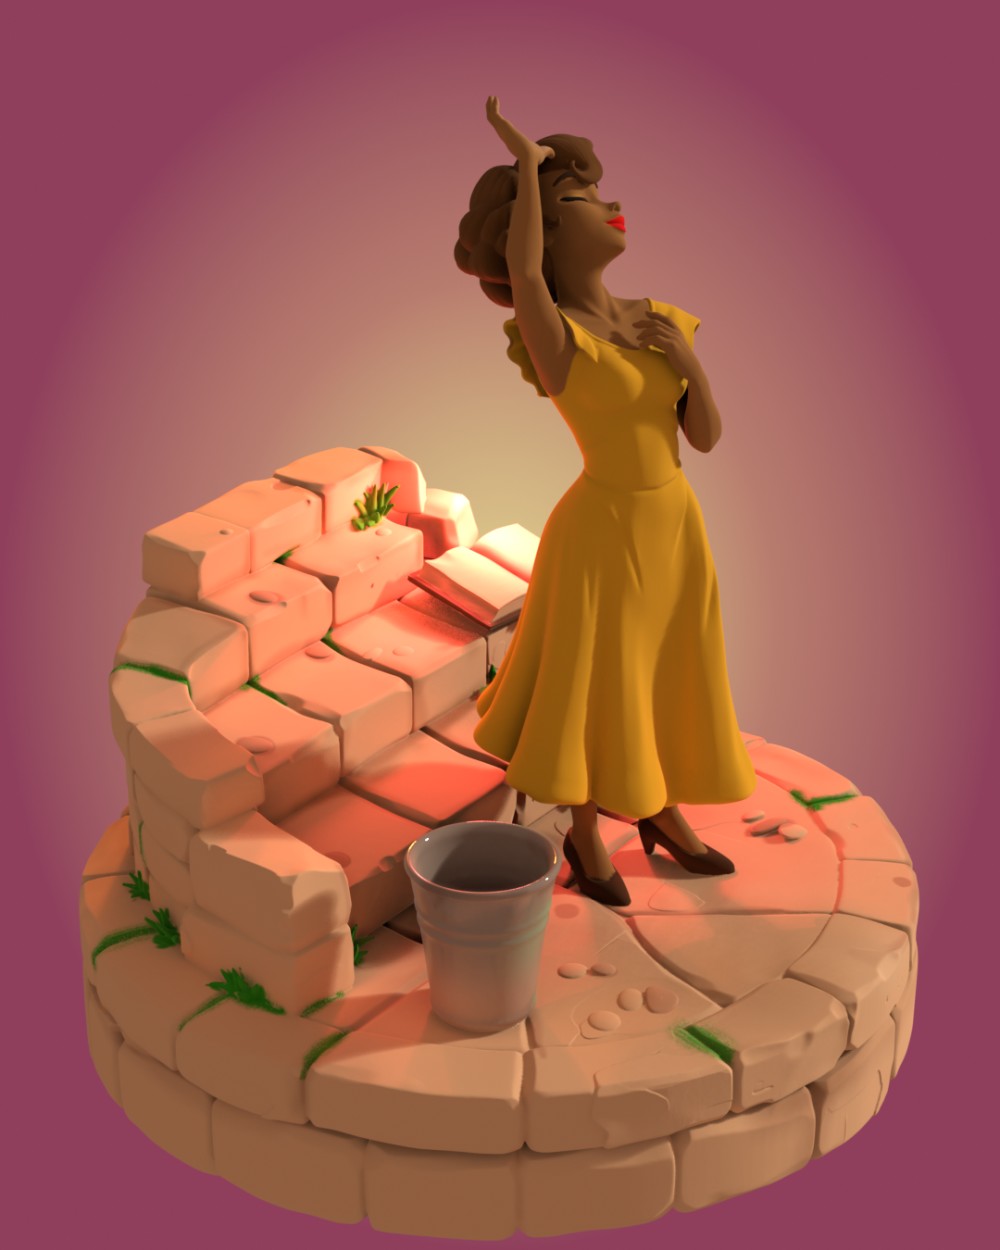
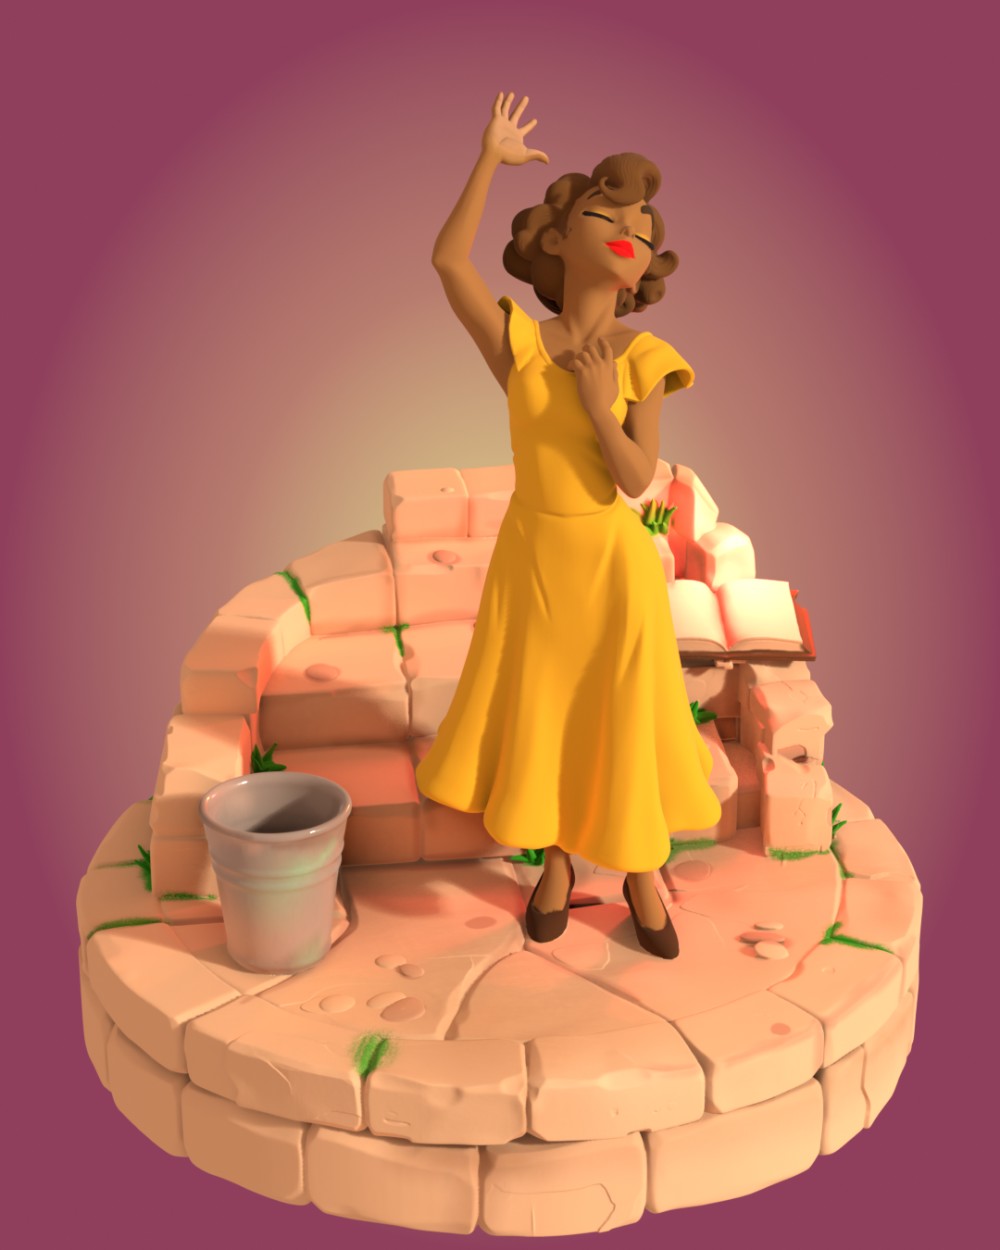
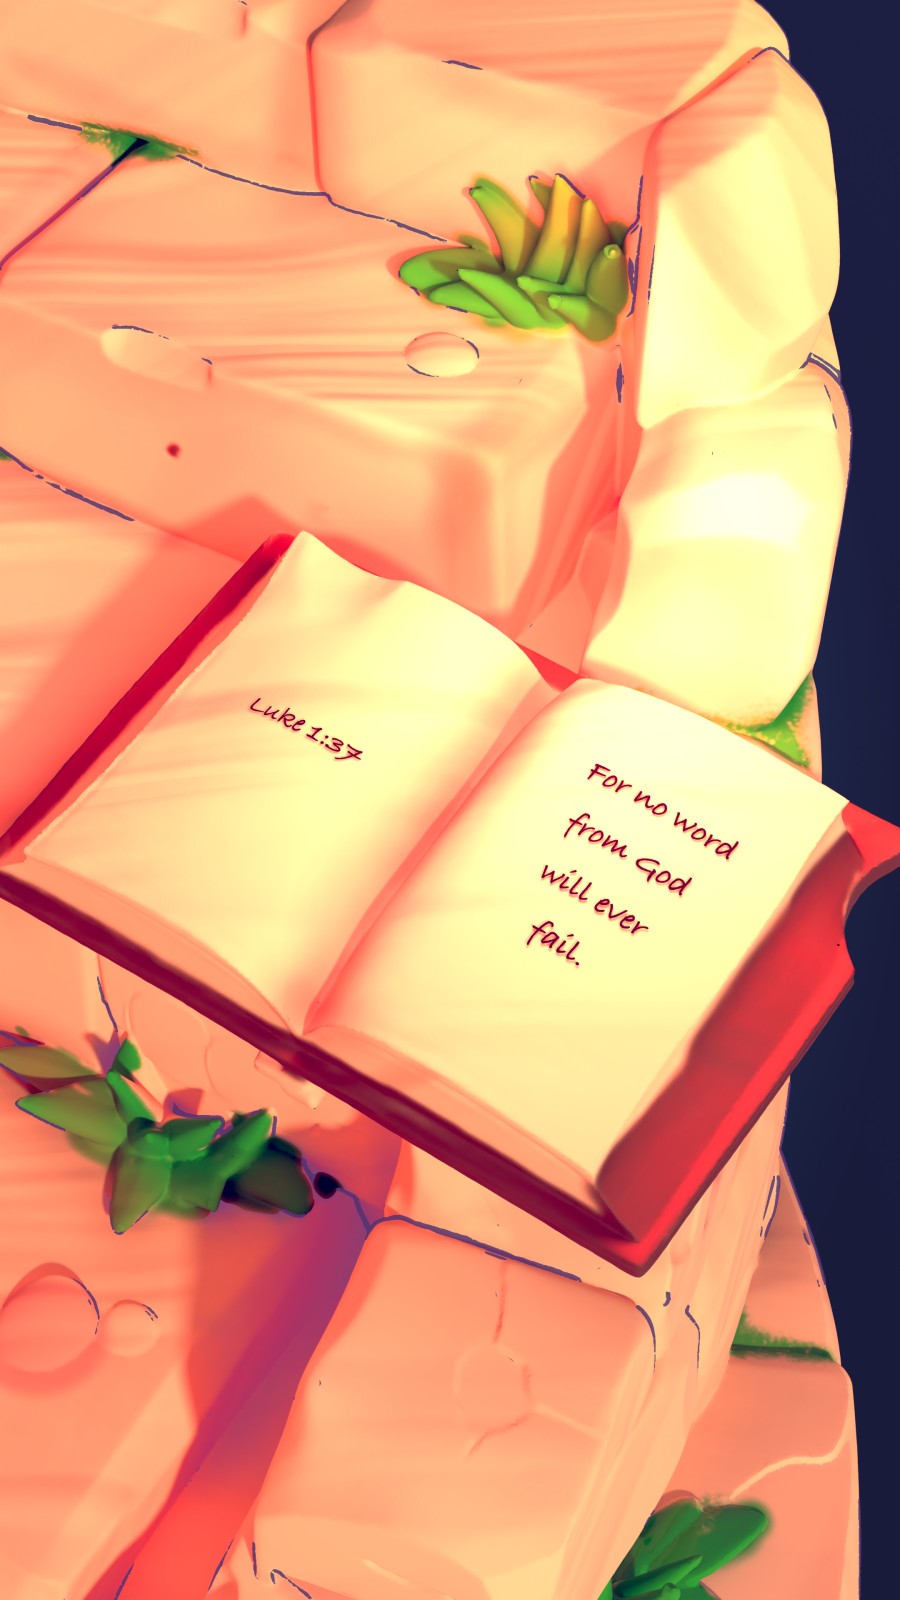
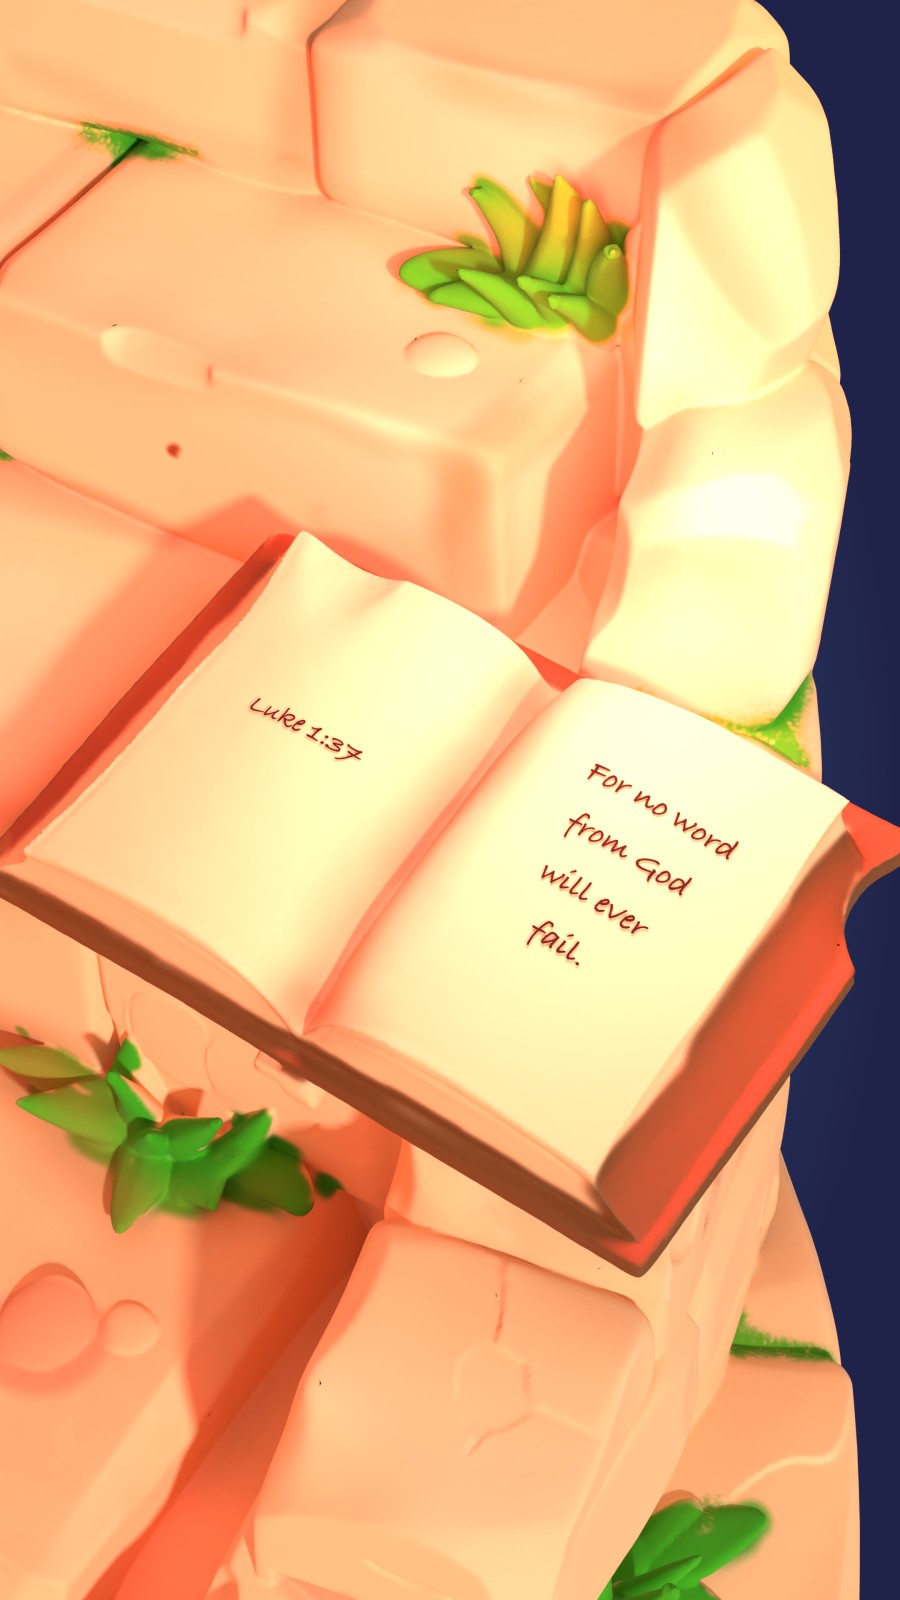
The same camera views rendered clean and rendered painterly, at high quality. Slide across to compare, then flip through every angle.

Painterly front view
Clean front view
CleanPainterly
Painterly Bible close-up
Clean Bible close-up
CleanPainterly

Every angle

Frames are 9:16 for Reels and Shorts. A center crop to 4:5 gives the feed version.

7
Motion

The turntable, and the Bible close-up

A turntable test first, to see how the painted lines behave when the camera moves. The lines shift slightly from frame to frame, which gives it a hand-drawn feel. The final move is 20 seconds: a slow orbit, a gentle push in to the open Bible, a hold, then back out to finish the turn.

Turntable test. 36 frames, looped.
Camera path. Plain gray preview of the 20 second move.
8
Prototyping

Making it heavy

A printed figure is light, and I did not use glue joints due to glue potentially wearing over time or not holding, so the weight had to be built in another way. This is how I worked through it: the ideas, the measuring, and the tests that led to a steel disc hidden in the plinth.

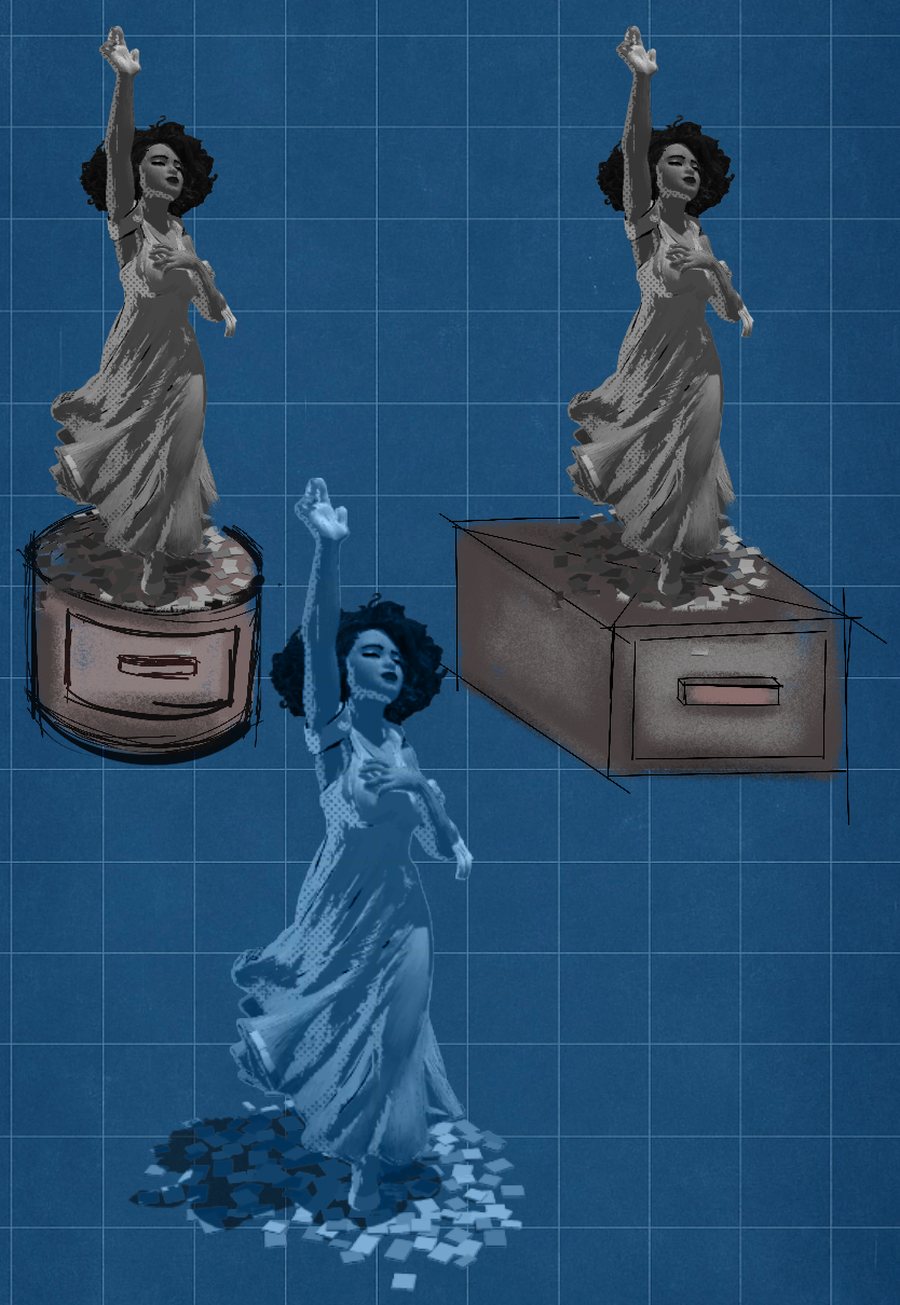
Blueprint-style sketches of the figure standing on a round drawer base and a rectangular drawer base
First sketches. The figure on a podium or a drawer base. I never went this route, but it started the question of where the weight could live.

I wanted real weight without screws or glue showing. The plan was a hidden weight in the base, with the figure printed around it.

Before settling on that, I explored a few joints and fillers. They were worked out on screen, never printed, and are saved for future pieces.

Ideas I explored and set aside (not printed)

These were planned around different fillers: cement, sand, metal and magnets. I landed on a single steel disc before building any of them.

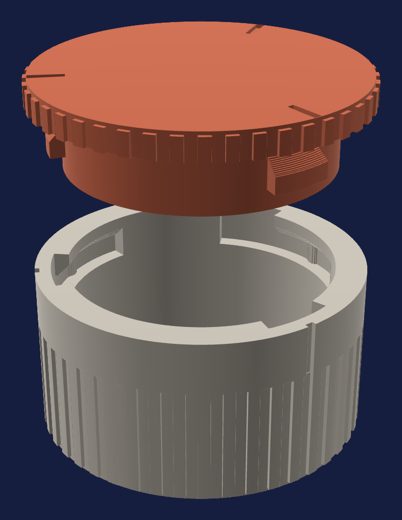
  • Exploded view of a round twist lock box, lid above baseTwist lockA 50 mm round bayonet box. Three lugs drop into slots, then a quarter turn clicks it shut. Designed to print without supports.
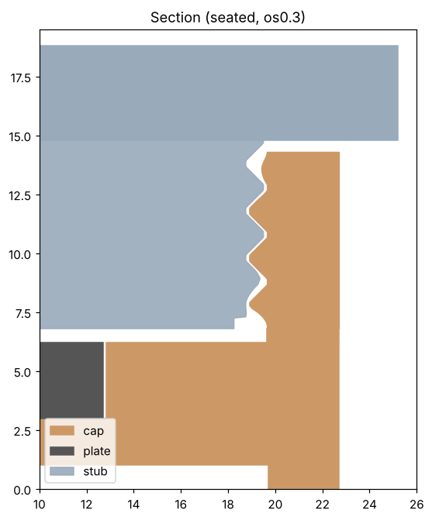
  • Cross-section drawing of a threaded cap holding a steel plateScrew capA thread-on cap holding a flat steel plate in the base.
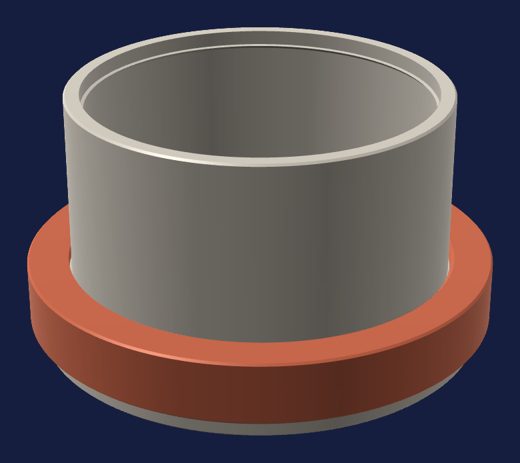
  • A cup that screws into a socket ring in the baseCement cupA cup filled with cement that screws into a socket ring in the base.
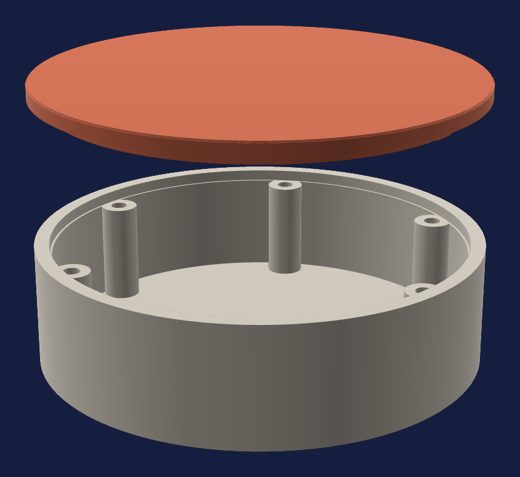
  • Exploded view of a tray and lid plinthCement tray plinthA tray and lid joined with M4 screws into heat-set inserts, with the cement sealed inside.
What I landed on

A solid steel disc sits in a closed pocket inside the plinth. The printer pauses mid-print, I place the disc and a thin PLA cover disc, and the print continues over the top, sealing it in. No glue, and nothing to come loose.

Measuring the disc

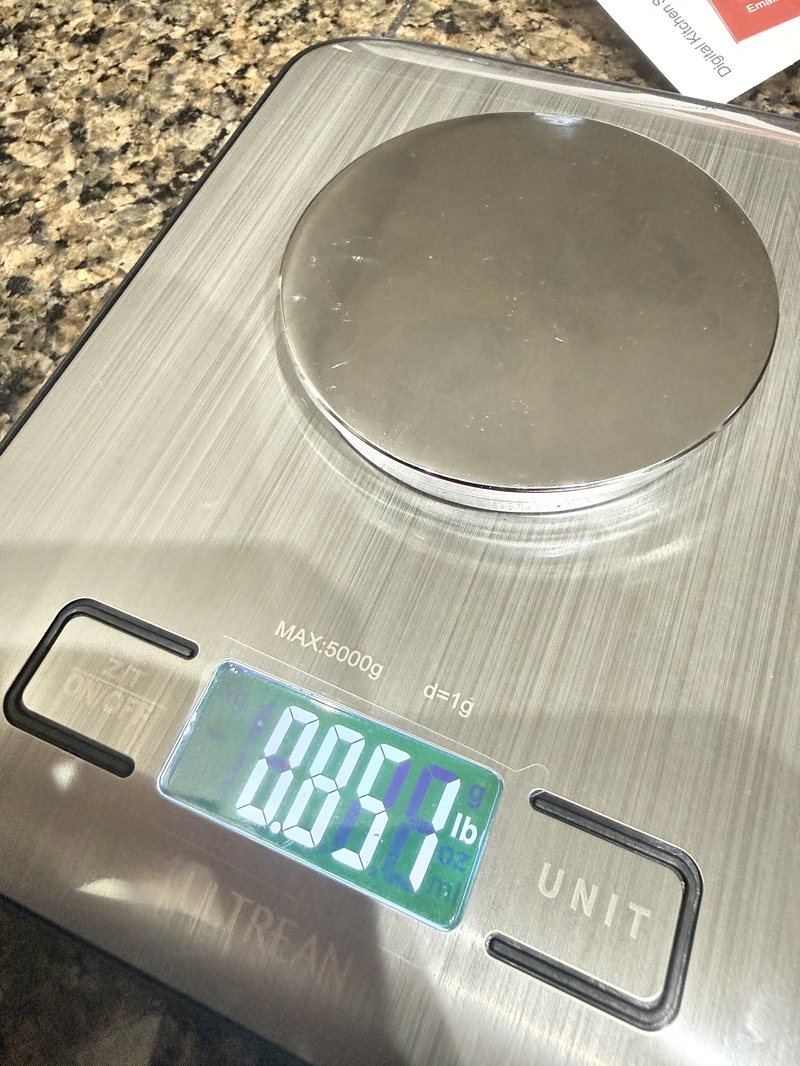
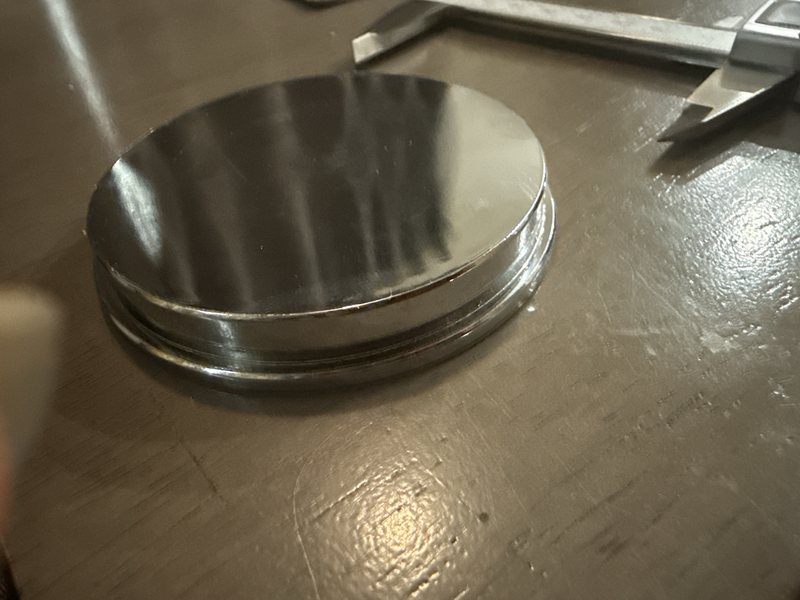
Calipers and a kitchen scale turned a guess into numbers. The disc is stepped, so I measured each step. The weight matched the math for solid steel, which told me I could trust the measurements.

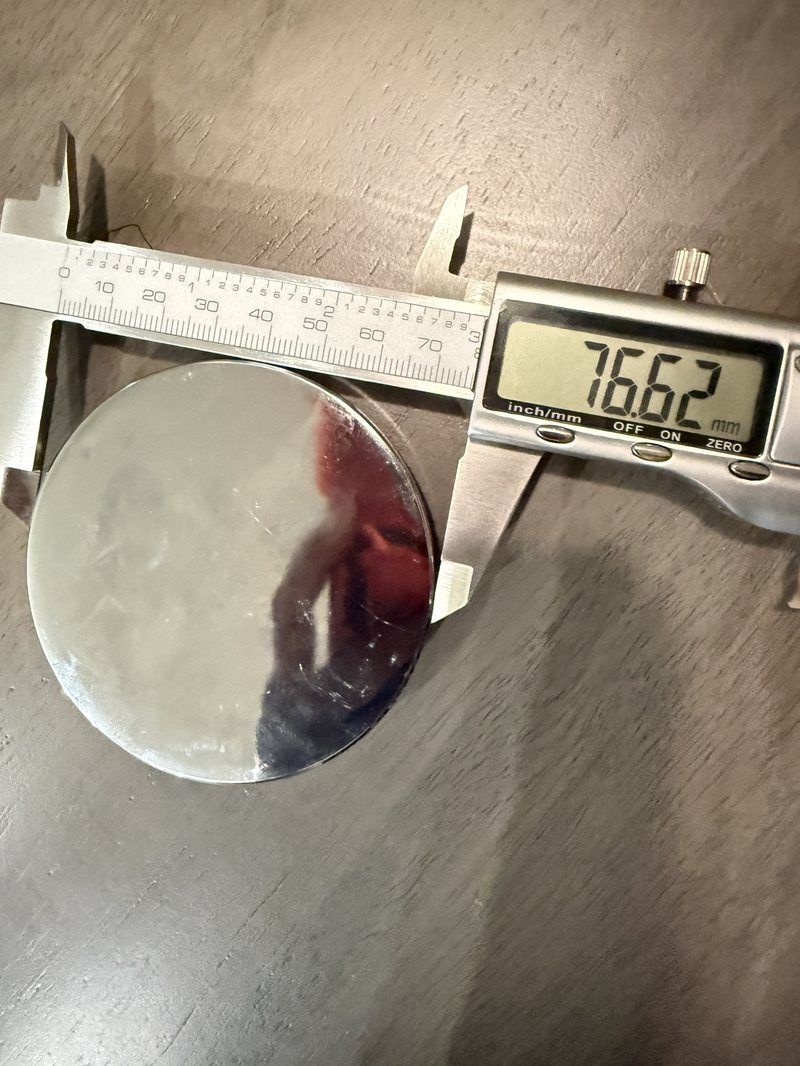
  • 76.62 mmwide step
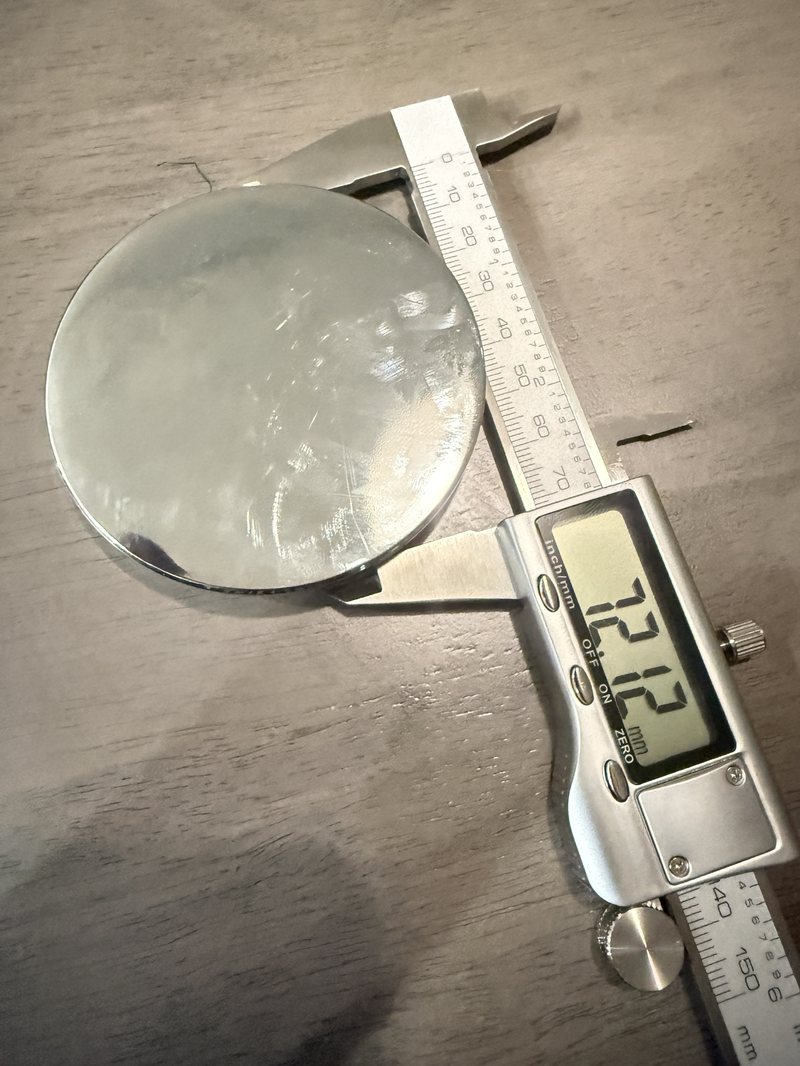
  • 72.12 mmnarrow step
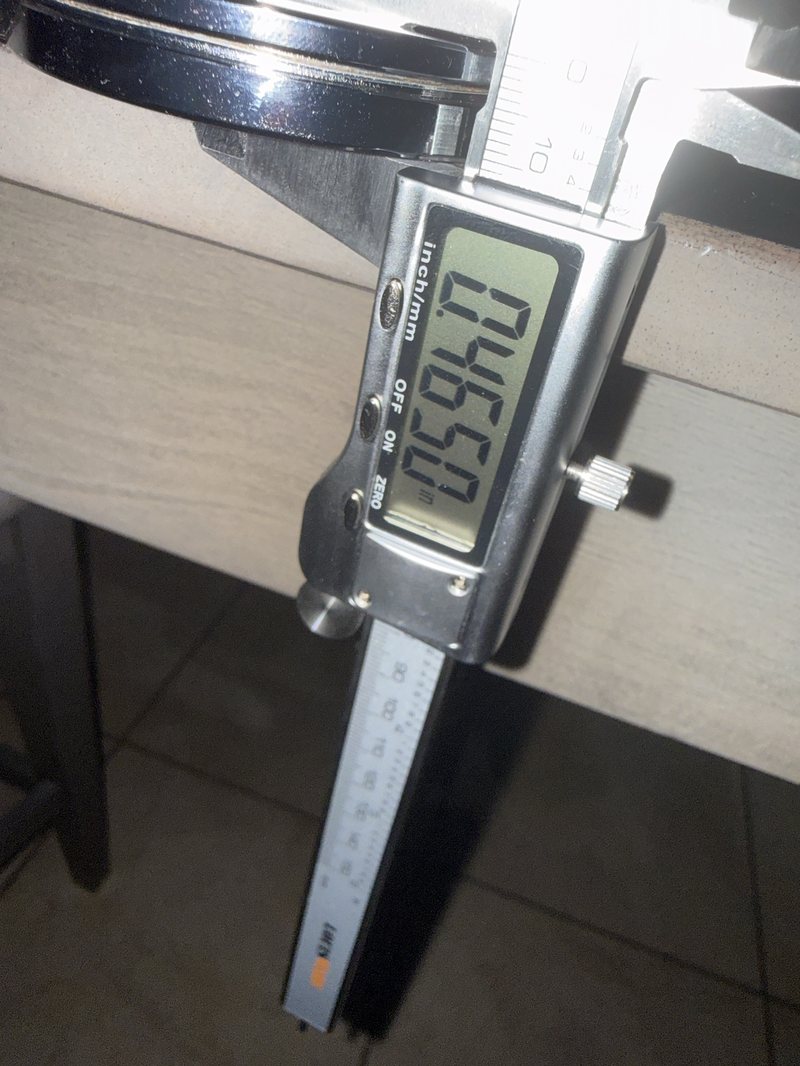
  • 11.8 mmheight
  • 0.85 lbweight
Calipers reading 76.62 millimeters across the wide step of the steel disc
Wide step. 76.62 mm.
Calipers reading 72.12 millimeters across the narrow step of the disc
Narrow step. 72.12 mm.
Calipers reading 0.4650 inches for the height of the disc
Height. 0.4650 in, or 11.8 mm.
Kitchen scale reading 0.851 pounds with the disc on it
Weight. 0.85 lb.
Side view of the stepped steel disc
The steps. A wider and a narrower portion.

From those numbers, the pocket is 77.2 mm wide, with a 76.8 x 2.5 mm PLA cover disc. It is 14.6 mm deep (11.8 mm for the disc plus 2.8 mm of clearance), with a 3 mm floor below and a 2.5 mm roof above.

The block test

Before risking a figure, I printed a 90 x 90 x 20.1 mm test block with the same pocket. I paused the print, placed the disc and its cover, and resumed. The disc sat flat and the printer built cleanly over it.

The miniature

A 4 in version with a fused rock plinth scales the idea down. Its pocket is 31.2 mm wide and holds a PLA stand-in disc with a thin cover. A support blocker keeps supports out of the pocket, and the print pauses just before the roof begins.

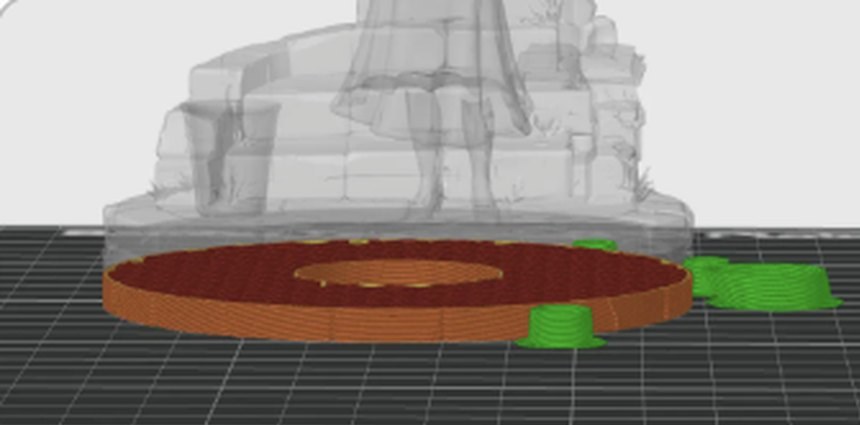
Slicer preview showing the empty round pocket in the plinth
Before the roof. The pocket is clean and open.
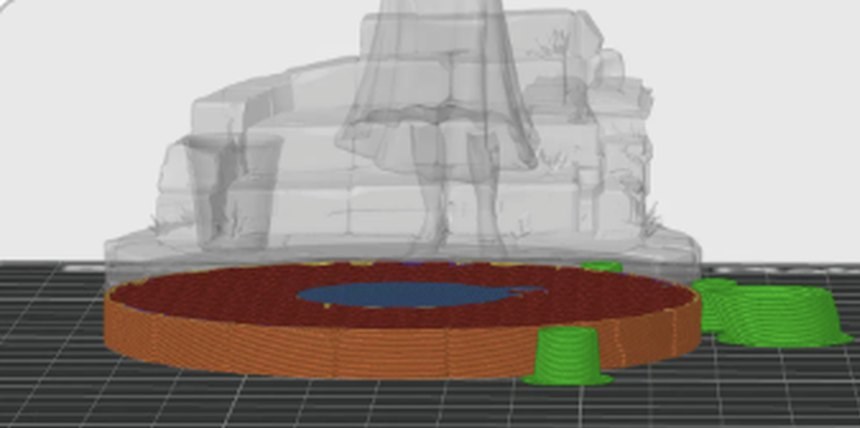
Slicer preview showing the roof beginning over the pocket
Where the roof begins. This is where the printer pauses.

The 10 in version uses one steel disc and pauses for me to place the disc and cover. The cover helps ensure the print does not fail due to gaps between the metal disc and the top of the layer, as well as the PLA not sticking to the metal.

9
Into the world

The miniature, layer by layer

The same model goes to a Bambu Lab printer. This is the miniature test build in time-lapse: the plinth first, then the steps and bucket, then the figure rising on its support.

Miniature test build. Time-lapse on the printer.
Printed piecesComing soon: photos of the finished print.
Hand-paintedComing soon: the hand-painted version.
10
What I learned

Notes for the next piece

  • Map out the paint process.The 3D painting process can happen in both Nomad and Blender. Mapping that process out, and deciding what details I want to hand-paint in Nomad vs. build in Blender with maps, is key.
  • One change per test.Forty-three versions sounds like a lot, but each one answered a single question. That made it easy to go back to the one that worked.
  • Textures that follow the object.Silk that runs with the folds of the dress looks painted. Noise laid flat across the screen looks like a filter.
  • Let shadows carry the color.Shifting the shadows toward purple warmed the whole figure without touching the yellow of the dress.
  • Pick the final size early.Brush strokes, dots and outlines are measured in pixels. Changing the frame size later means retuning them, so decide on the delivery size first, or find a method that is more forgiving of a size change.
  • Shoot tall, crop wide.Rendering at 9:16 means the 4:5 feed crop and the Reel are the same image with more room around it.
  • Measure, then test small.A caliper, a scale and a 90 mm test block answered more than any guess. Prove the method small before risking the full print.
  • Plan the weight early.A pocket, a floor and a roof in the plinth are easy to design in from the start and hard to add later.
●
The full story

Where this began

If you skipped it at the top, here it is.

The full story

I was inspired to create the original version of this piece by a trip to the CAAM museum with my mom Angela, stepmom Sherri, and two children. Seeing work by Willie Birch and Langston Hughes inspired my Oldies Gospel Art Series, a series of 3D art inspired by scripture and oldies gospel music. Every piece has a scripture that inspired me throughout, and this one was Luke 1:37: “For no word from God will ever fail.” (BSB)

Read the Substack articleSee the Instagram post

Rewind to about three weeks ago, when a lovely dinner with my children and their Amma led us to an art gallery. Their Amma gracefully shared my art background with the gallery owner. I showed him some of my work and told him I had been working on ways to turn my 3D art into painted prints. He pointed out the original version, and we talked about me recreating it for his gallery. It was that moment that inspired this learning journey.

It has been a carefully thought-out process, full of research, sketches, 3D model redesigns, 3D paintings, prototypes, testing, rendering, and 3D prototype printing. I also appreciate my older brother Jonathan for helping me with my 3D printing questions (His 3D work is amazing! See Slide 2!), and my twin sister Jessica for giving feedback on some of the original redesign models, which led me to my final figure.

The Sculpted Edition was made in Nomad Sculpt for the 3D model, 3D painting and material baking, and in Blender for additional texture mapping, outline effects, the camera system and updated scene lights.

The 3D Drawn Original was made in Nomad Sculpt for the 3D model and in Feather 3D for 3D coloring and illustration.

The pages below show how the digital version took shape: the tests, the choices behind it, and what each one taught.